SwedeSpeed - Volvo Performance Forum banner

Ball joints stuck in steering knuckle

9K views 27 replies 9 participants last post by  CASwede  
#1 ·
Hi everyone,

Does anyone have any advice, tips or tricks for removing stuck ball joints when not working on a lift?

My vehicle has 0 corrosion, we don't get snow, they don't salt the roads, we only get constant rain.
Original ball joints, original LCAs, 162k km.
The ball joints are not worn, doing them as preventative maintenance while doing the LCAs.


I've been following tutorials (linked below) with no avail using the following approaches:
  • Sea Foam Deep Creep overnight
  • air hammer
  • punch
  • blunt cold chisel
  • screwdriver on ears of ball joint


My ideas for next steps:
  1. Take the entire steering knuckle off the car and:
    1. Put it in a vice and slide hammer it out.
    2. Take off everything temperature sensitive and heat it, and then air hammer it on the ground
  2. Cut it off with a grinder and dremel while on the car

I have two new Lemforder ball joints ready to go in.
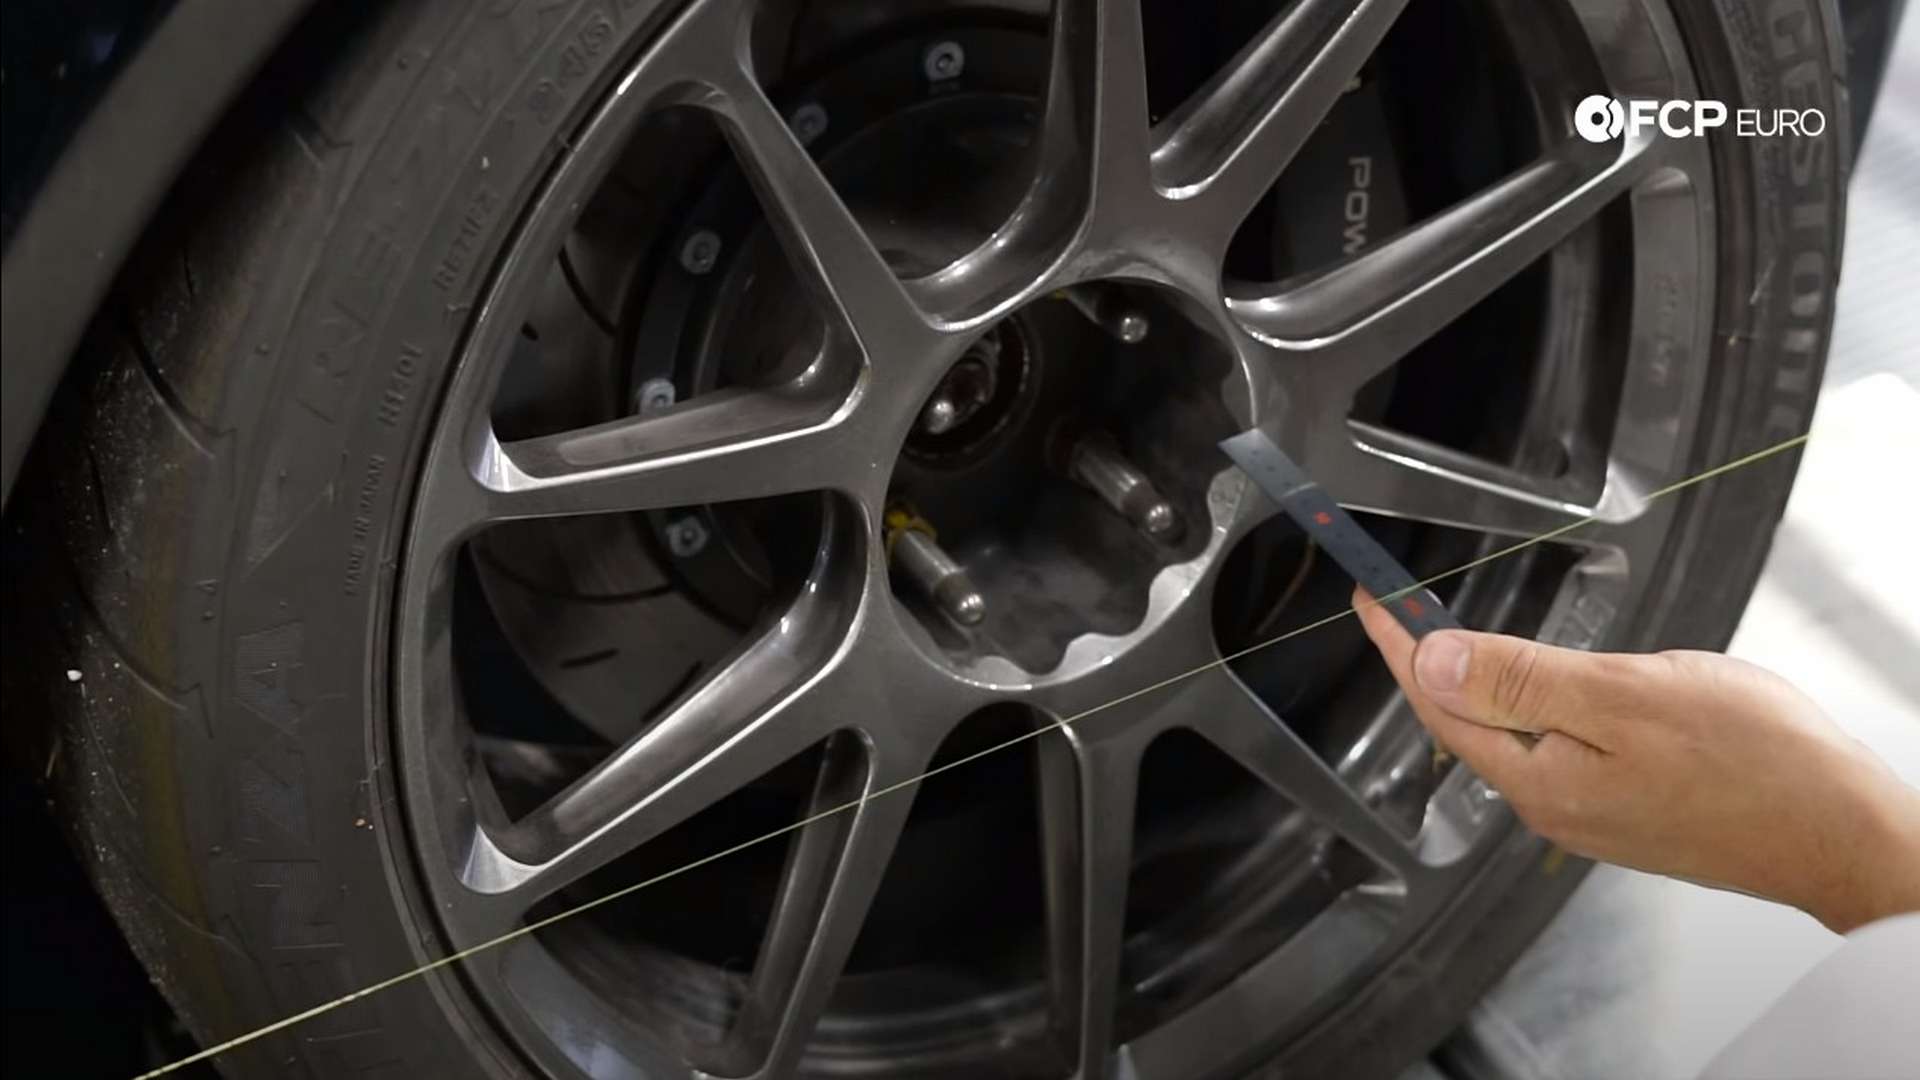
View my apprentice marks below and think positive thoughts for my CV axle (at one point that pulled out too much for comfort but appear to be fine):


Image

Image


Thank you in advance for your help :)!
 
owns 2013 Volvo XC90 AWD Platinum
#2 ·
owns 2013 Volvo XC90 AWD Platinum
#3 ·
heat has helped me the most with this stuff. even just medium heat like what you can get from five minutes with a blow dryer can make a big difference. you could try that level of heat while still in the car, no problem

I think your knuckle-out strategies should work fine if it comes to that

when I did mine they came out using your methods, plus heat, just lots of alternating chisel hits. I think I also cheated and used the chisel point from the side at the joint to get it started (which marks the knuckle a little, you probably shouldn't do this). sorry you're having trouble
 
#4 ·
Great idea on the heat! Thank you! I was worried with using MAP, but your idea to use electric heat I hadn't thought of. I'll try with my heatgun w/ focused nosel next attempt and use damp paper towel to protect the CV axle boot.

Thank you for the idea!
 
owns 2013 Volvo XC90 AWD Platinum
#6 ·
For the home DIYer, typically neither an air chisel nor having space for a slide hammer are options. Heat should help. I also have a trusted smaller pry bar I’ve been using for over 20 years that has a sharper edge in which I can hit with a dead blow hammer to start a gap between the ball joint and steering knuckle.
 
#8 ·
#9 ·
One other thing. If you are losing impact force from the knuckle moving down, support the hub with a jack stand and rags on top, careful to not scratch the rotor.
 
#11 ·
You've got two places to bang on the ball joint flange, both sides have the depression. I recall lit being inordinately difficult to get my first one off ('05), lotta pounding on both sides of the flange with a chisel, followed by a stout flat bladed screwdriver inserted in the gap to leverage a little more space (ideal if you can get the driver in and lever with tension as you pound). I recall taking almost an hour before I was eventually able to get the ball joint off. If it gets really difficult, consider removing the rotor and dust shield to make yourself more space. Jack under the rotor or the hub to keep things solid while you pound, for sure. Next time I do ball joints, I'll try the air chisel route, see what space is really in the area. Nice and easy putting the ball joint back in, ideally you don't want to use the bolts to make it flush. Better IMHO to get it pounded up (2 inch pipe) then use the bolts to snug and torque. I normally re-check the bolts after a quick drive, just to be sure everything is tight after putting on load.

Image

Image
 
#12 ·
The "right" way to do it is to remove the whole knuckle and put it on a table and/or wise. Its not that difficult to remove and its going to be far easier to have access and remove the old ball joint and installing the new one correctly, because if you don't have the special tool, it needs to be gently trapped down as one tightens the screws untill its bottoms out. If not the flanges will bend and the ball joint will not be seated correctly.

I pull my knuckles off atleast every other year and ripp everything apart just to clean everything after driving two winters in salty conditions. It's an easy job.
 
#13 · (Edited)
Coat the inside of the recess in the knuckle with anti-sieze in case you have to do it again in another 10 years...

You don't need salt or snow to get corrosion, although salt helps. All you need is water and oxygen, both hard to avoid unless you live in the desert.

(The anti-sieze excludes the oxygen and the water).
 
#14 ·
My special tool, 2 inch stainless exhaust pipe courtesy of the local muffler shop. This is the second one, I throw them away after they "lip" from hammering the joint in rather than trying to recut. I take the time to clean the socket fully and I test fit the chamfered end before trying to put it in (when I did the Meyle I had to bevel the end edge). Joint in freezer or not, line up the spline match where the joint goes in (forget, you may be able to put the bolts in loosely), then put the pipe nice and easy on the ball joint. Once the pipe is flat against the flange you can start gently tapping it in and add force once you're lined up until the flange is flush. Another option.

Image


I agree that if you can take the knuckle off you can do a full service. Even replace the hubs, bang them out from the back.
 
#15 ·
Well, for installation I’ve used this pipe technique outlined below in 2016 a dozen times and it works well. The old pipe and cap. I brought my new ball joint into Home Depot to ensure proper diameter and fit. No need to waste money on the expensive tool.

I also never have to pull apart my knuckles every other year or even 10 yrs, which includes driving through winter salt. My original ball joints removed without issue. Agree with a tiny bit of anti-seize upon reinstallation.
 
#16 ·
Thank you @Tech , @ChitownV , @CASwede , @ggleavitt , @wagonswede and @John C for helping me out! You've given me the words of encouragement I needed to hear and good ideas to try here.

Luck of the draw that the my air hammer couldn't get these out the first try.
 
owns 2013 Volvo XC90 AWD Platinum
#18 · (Edited)
A quick hit at the seam between the ball joint and knuckle with the chisel bit
Just be sure you're aiming the chisel a few degrees away from the surface of the knuckle so any damage is to the ball joint, not the knuckle. With experience it's automatic, but if it's your first time it might not be obvious. Work a little on one side and then a little on the other so it doesn't get jammed in on an angle.

Hammer it back in with the pipe, but keep an eye on it at first to make sure it goes in straight. Once it's started, whale away!
 
#21 ·
Those vids aren't good. Tightening the fasteners to install the ball joint is going to bend the ears on the ball joint. You really need to bonk the balljoint into place with a pipe or other special tool surrogate. A pair of long M10 screws will help guide the ball joint into place while you bonk.

I use a big air hammer to remove and install the ball joints. As others suggested, pulling the knuckle makes it easy to get things back into the control arm.

-Ryan
 
#22 ·
.
I believe the Volvo tool also slowly tightens the ball joint but the pressure is evenly distributed. Can't find the video it its use.
.
.
A couple of video. First one didn't damage the mating surface of the knuckle but the other videos are a no no.
.
.
 
#24 ·
The Volvo tool doesn't slowly tighten it. It's a pipe with a handle and two alignmIent holes and you hammer it on.

If you're careful, you can draw it into place with the bolts just fine.
.
I thought the other parts in the kit were for drawing the ball joint into the knuckle? I vaguely remember perhaps seeing the hammering part in a video but didn't want to make that assumption. From the first 1AAuto video drawing into place doesn't look that difficult.
.
 
#27 ·
Thank you again, everyone for the help and advice. This is a great resource thread for others in the future.

Sadly, I am going to fight this battle another (sunny) day.
Heat and beat, airhammer, big mallet - no luck. I only barely got the passenger side one to move a fraction (e.g. paper slid in between the ball joint ear and knuckle).

When I do the front shocks and associated parts, I'll take the steering knuckle off, the wheel bearing off, heat it up real good and get the ball joint out.

On a positive note, the new control arms feel great! Glad I did them and a quick job too!
I'll start another thread on an alignment question I have...
 
owns 2013 Volvo XC90 AWD Platinum
#28 ·
Before you ask about the alignment question(s) have a look at FCP's video. One of better ones and basically how we did our 08 C30 T5 after we installed the rear adjustable camber arm. The majority of the time it a quick 10 to 30 minutes of setting the front toe and taking a drive after to make sure the steering wheel is centered and fine tune if necessary. The majority of all my cars have even tire wear.
.
.