S60 Metal Gas Tank Fuel Pump change procedure
As noted previously, if you have a metal tank, at least on the S60, the fuel filter is part of the fuel pump assembly and cannot be changed without swapping out the entire unit. I can't say whether this is true for other models with metal tanks...but it's likely. If you can't find a fuel filter anywhere under the car by the rear wheels then you probably should follow the following procedure. FCP shows the same fuel pump I installed for your car, so this procedure applies to you.
This procedure applies to a 2005 S60. If you research fuel pumps at FCP, IPD, etc. and find yours is identical to the one on my car, chances are you've got a metal tank and should follow this process rather than the one for plastic gas tanks. Originally posted on the Brickboard. No pictures, sorry, but if you get stuck or have questions send me a PM.
--
All,
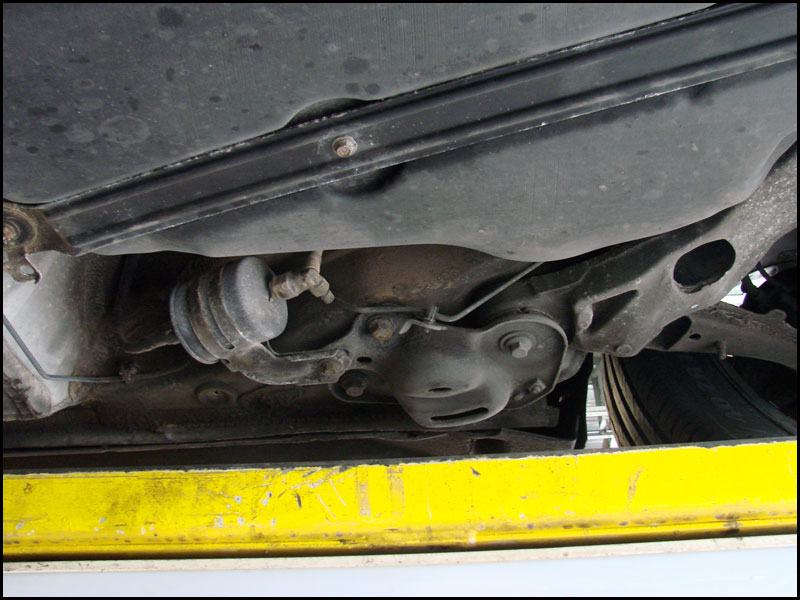
Given the lack of information on the web about this I thought I would post my experience changing the fuel pump in my new to me 2005 S60 (169k). This car was made in Belgium and apparently was one of the few manufacturing facilities to still make steel tanks for these cars. My fuel pump was whining when I bought the car (negotiated the cost off the asking price) and I'm pretty sure the sending unit was bad as well since I went from a half to a quarter tank after the swap. Metal tank cars do not have an external fuel filter, everything - fuel pump, filter, sending unit - is in one integrated assembly.
0. The tank should be at a half or below, the less gas the better.
1. Don't buy the ring tool everyone sells for the plastic tank, the one with all the notches in it for the plastic ring, it won't work for the steel ring. Buy a good brass punch, about $13 on Amazon. I looked everywhere for a tool but never found one. Don't go cheap and use a cold chisel since steel on steel tends to create sparks and gas tanks tend to catch fire or explode in the presence of an ignition source.
2. Remove the rear bench seat by pulling up with both hands and strong but steady force on one side, no jerky motions, until it pops loose then work the other side free. Store it someplace clean in the garage.
3. Remove the passenger side rear bolster by pressing in on the plastic clip from the trunk until it comes loose. Gently wiggle the bolster until it comes free and lift straight up.
4. Undo the now exposed 14 or 15mm bolt and disconnect the rear headrest connector.
5. Undo the bolt and nut on the black steel bar which was underneath the bench seat. Remove bar and set aside.
6. After pulling release lever in the trunk, gently wiggle the rear passenger back rest towards the side of the car until the large pin on the driver's side comes loose. Store the back rest in the trunk.
7. Peel forward the insulation gently working it around the seat belt receivers.
8. Remove the steel cap and the four nuts that hold it in place after marking it with an arrow towards the front of the car. Disconnect the black connector in the middle of the steel ring, then mark the location of one of the two UUs so you know how far to drive it home. The black connector has two "tabs" that fit in the white plastic cap which you can remove it from to give you more room. On reassembly make sure the connector clicks home. Make a mark on the plastic cap and the surrounding tank so you're sure you have it in the same position on reassembly. Using a shop vac or your home vac, thoroughly vacuum the area around and on top of the plastic cap so no debris gets into the tank.
9. Using the brass punch tap the ring around. No reason to beat on it, just work back and forth between the top and bottom indentations in the ring, which look like two side by side UUs. I opted not to strike the center of the UUs for fear of breaking the tab but rather struck at the outside edge, works just as well.
10. Remove the ring, then the plastic cap.
11. Remove the bolt holding the ground line. Remove bolt and supporting plastic tower that holds fuel pump in place and place in catch basin.
12. Disconnect float sending unit connection to give you more room, move fuel pump towards back of the car so you can reach the single fuel line, remove by pressing clip down with the point of your thumb while holding bottom of the fuel line with your fingers. Remove power connector.
13. Have a catch basin ready. I used the deep pan I use for oil changes after wiping it out. Work the fuel pump out of the hole, black float last to come out and, holding upright, place the fuel pump in the catch basin. Remove from car, set on the floor outside the car or on your workbench.
14. Installation is the reverse of the above steps.
Things to watch for:
Make sure the metal depression where the new rubber ring you bought...you did buy one when you bought the fuel pump, right?...is nice and clean before putting the new rubber ring in. I used carb cleaner on a rag to wipe the depression out thoroughly as well as the ring and the outside bottom edge of the plastic cap, otherwise it will snake around on you while driving the steel ring around. You want to buy the rubber ring with the depression in it, not the round one. Make sure the lines you drew on the white plastic cap and tank line up, otherwise you won't be able to seat the tabs on the connector. Don't forget to drive the steel ring around to the mark you made on the tank or at least pretty close. Don't be alarmed by the gurgling sounds the fuel pump makes when you first start the car, that should stop in 15 or 20 minutes and you'll once again experience blessed silence from the fuel pump and the satisfaction of having a new fuel pump.
Have fun.