SwedeSpeed - Volvo Performance Forum banner

Parking Assist Service Required error - SOLVED

2 reading
199K views 17 replies 8 participants last post by  Hong Kong  
#1 · (Edited by Moderator)
Many times in last few years Parking Assist Service Required error message come out. After I restart the car sometimes this error remain shortly sometimes gone but now stay on and I need to go to dealer to reset.

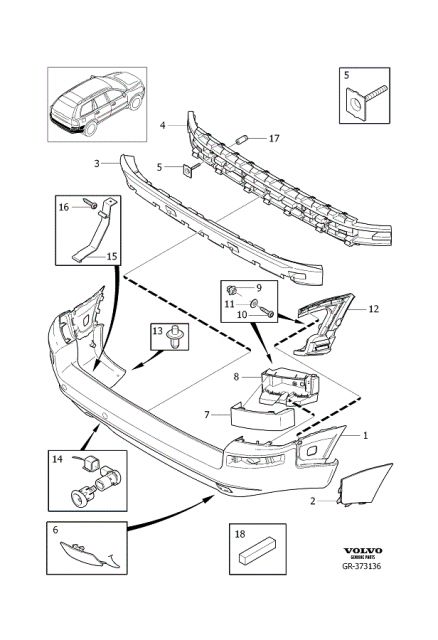
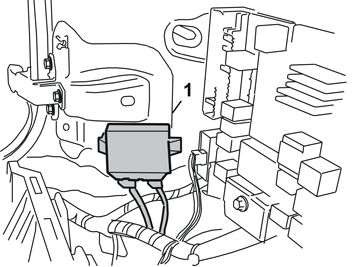
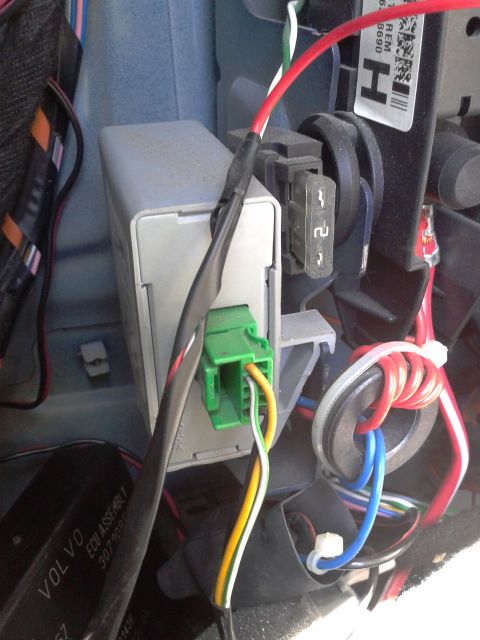
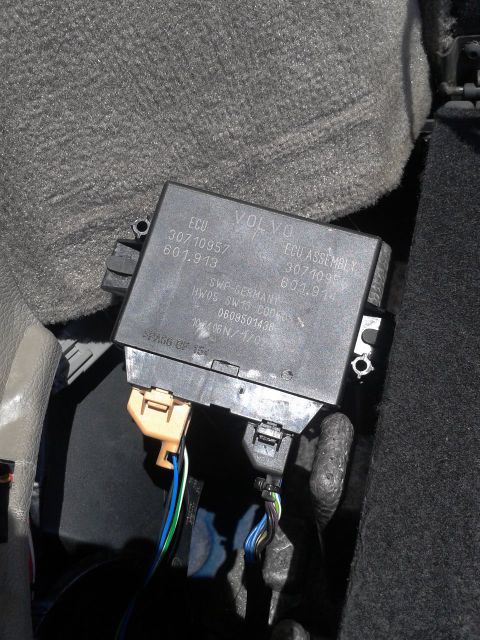
Any way today I open the parking module. Position of module is in rear left side of the car, when you pull out cover to reach left lights you can spot black box "hanging" on cables bcs. Velcro will not take it many years on place and they use this just to speed installations in factory. Velcro? LOL 🤦

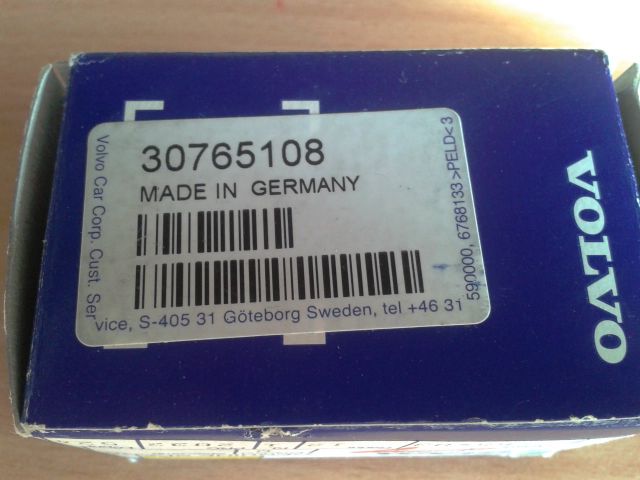
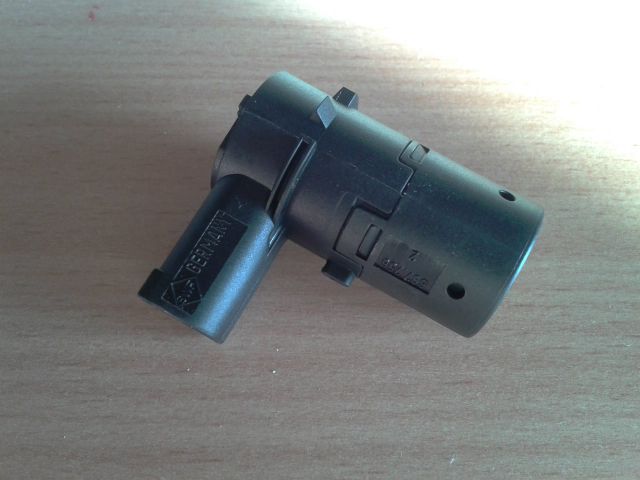
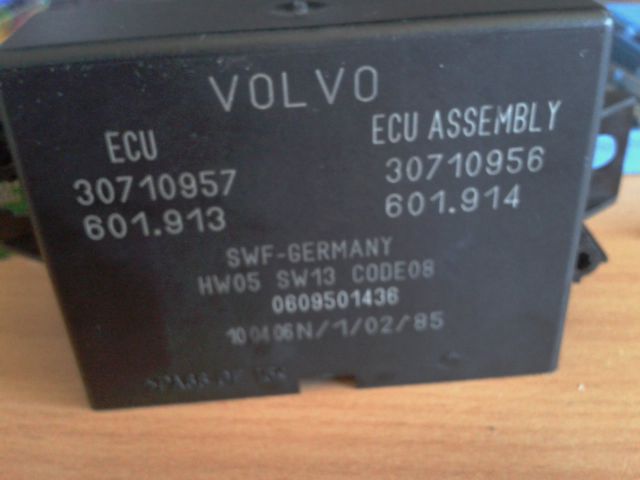
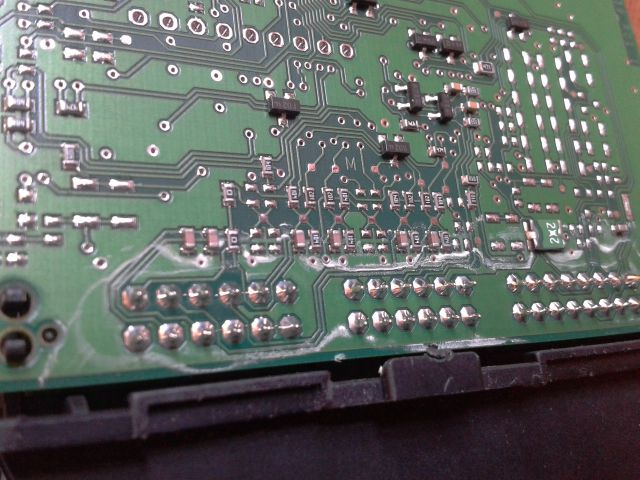
Module will hang upside down and when I open it I found water signs or condense on connector solder part of board. I'm sure this is the common mistake for this part. :p:(:D:D(n)

This is the simple procedure to find a module. See photos for Talibans.:D:p

Image

Then pull out this triangle cover. (y)
Image

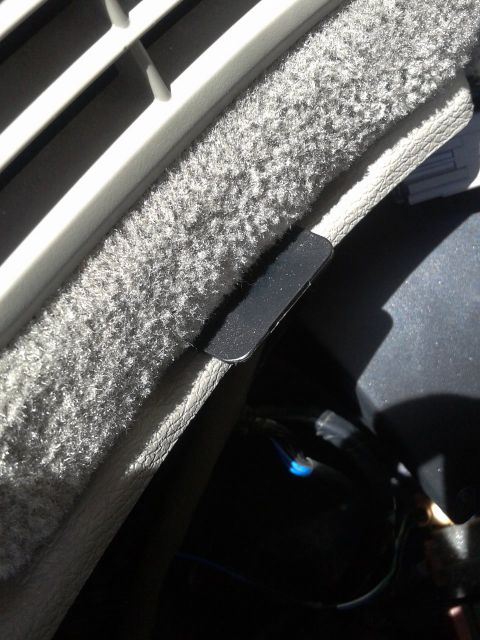
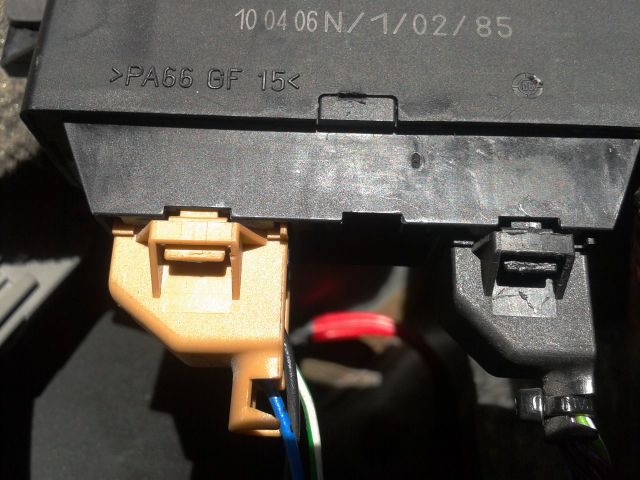
Then you can spot small black tongue pull it up to open cover. (y)
Image

Image
 
#2 · (Edited by Moderator)
Voila you are now in back side of your lights and rear fuses.
On the left side you can find black box with VOLVO sign
this is PARKING ASSIST MODULE.
DO NOT PULL OUT GRAY BOX. This box MUST BE at this position. Its ALARM LEVEL
control module. If you pull it out like they made to me in service and one guy
fix it on cables with cable ties alarm come out every time when car is not at flat surface.
Image

Image

This is PARK ASSIST module you can simply PULL it (y) out from Velcro tape.
This tape is useless after few years. Car on the sun ect...
Image

Left connector is for power and reverse gear control and right one is going on sensors.
Middle one is for front sensors for Blondie girls.:D🍺:p
You cant mix places all connectors are different slides.
Image

I add some vibration gummy on empty fixing holes and fix back module with cable ties.
Image


Image

Image

Image
 
#9 ·
A scan with VIDA will tell you which sensor is bad. They are referenced as sensors 1, 2, 3, and 4. Right to left.
 
#7 · (Edited)
Today after few days of rain and cold weather parking rear sensors start working again. :bow::whistle:
I didn't have a time to remove rear bumper as new 3th sensor need to be replaced.
As now weather showing that this is only bad corrosion contact I will remove all and clean with special spray for contacts (NOT WD40) but good contact cleaner.
And report to you whats going on. As obviously something is wrong with connector on sensor. I will take a time tomorrow if rain stop to made photos of removing rear bumper and cleaning procedure as well. :D
Here is proof of working parking sensors and error message disappear from dash.:p
Volvo need to change the name of Parking sensors to: Automatic error self checking devices installed in XC90 :deadhorse:
Image
 
#8 ·
I've been living with the error for 6 months and after seeing your post, I decided that I want to fix it. Thank you for posting this up.

It seems to me that when it's cold or rainy, the parking sensor magically start working again for a few moments. I did check on the module and it's held in place very firmly and no corrosion can be seen on the module itself. It was fine for a day then the error message came back again. So my logical next step is to take off the bumper and check the connections on the sensor itself. Did you get to chance to pursue it further on taking the the bumper off and clean the sensor? Can you post your steps on that?

I think I should just order one sensor and replace them one by one to see which one is bad...
 
#11 · (Edited)
Sorry guys I was busy and one day I decide to change this sensor as error came back
again. For testing you will need help as to find wich sensor is not working the only one
way is this without going to service and connecting on VIDA:

IF your car is for Europe Left driver seat that sensors is going from Left to right as thebarcko wrote
but Im quite sure that this is also for Right driving as UK.

Ok First you will need to buy 1 NEW sensor.
When you remove all this covers and pull out cable harness with 4 sensors, please clean it first
and immidietely MARK it with some water resistant marker.
If you are standing behind the car from left to right how cable is came out from body 1, 2,3, 4 .

Without VIDA you can find which sensor is bad only with this procedure. There is no other cheapest.

As sensor module have memory - error remain in module and you will need to reset module pulling
out - negative and + positive cable on battery.
Before you continue : Put new sensor on position 1.

Bear in mind that ALL 4 sensors must be in AIR, not touching ground, not have any obstacle in front
and you will need a help or some wire to pull it on nearest hence. ;)

When you put car key in position II. check if error is still there. Than try to move your hand in
front of sensor 1. if you hear sound VOILA its working.

To check all 4 sensors you will need to repeat procedure again and again.
I was happy to find that sensor 3 was bad bcs. I was in service on tester before this work.
Any time if you spot that Error still remain on display you need to reset module pulling
battery + and - as you simply cant just put another sensor to check if is working or not
as logic inside the module prevent this. Vida is there to suck the money, logical error
was programmed just for this reason - will be so problem to put 4 transistor or one
logical control chip to tell you which sensor is not working?

When sensor 1. is not working. You need to remove NEW one and put back marked with Nr.1 back
on his position - connector. I forgot to tell you clean all contacts of sensors and connector pins with
quality spray contact cleaner and not WD40. NOT WD40.

Now you need to pull key out, pull battery cables out, put NEW sensor on position 2. and
check again one by one.

The only way to reset parking module is this one.
Trust me tested and now sensors working
months and months.

Photos coming.
 
#12 · (Edited)
Image

At first you need to remove this two rivet on photo Nr. 13.
When you finish put new rivet and put in each side 2 new washers and rivet.
Than remove Nr. 7 on both side pulling firmly out directly to you straight out.
No need to remove side small pannels under the number 2. NO.
Now from inside the car remove 4 boltsNr. 17 as photo show few posts back...
you find on left and right side of battery this gray soft sponge covers.
Pull it away and find 4 bolts. Check good to not remove unecesarry others near this 4
taking in place bumper metal support.
Image

Before you pull bumper with sensors away - pull both sensor cable hanress connectors out of module,
with hand go to the rear wall, you can find hole and sponge closing dust to enter but this cable
harness is passing out to bumper. Remove pulling this sponge and push cable and two connectors out.
Than pull away all bumper. If you have front parking sensors, the middle connector is for front.
But I say front sensors are for Blondies from Sweden.
Image
 
#13 · (Edited)
When you placing bolts of bumber back on position, use a little bit tape around screw and tool
this will prevent to fall down in body tunnels - forget it will be impossible to pull it out
even with magnet. When you finish just pull tool out and voila.

Ok here is photos of my work.
Image

Ok inside bumper is some kind of many clamps taking all this together - here you will need many screwdrivers
or help to push it a little back and pull all this plastic away to get near sensors.
Nr. 4. and number 3. stick together with this plastic levels.
Check that you push all or you will broke it for sure as this plastic was years on sun, UV, water, cold,
hot weather and quality is bad. Broke very easy like all other plastics in this car. Take some photos of
cablings before you pull away that you remember the right position of cables before you put it back
this part as once you push this forget again one by one...
Image

Image

Image

Pull firmly sensors, clean everything good.
Image

Image

Image


When you finish put power back.:whistle:
Image
 
#18 · (Edited)
After many years and constant bad parkig sensors when raining or cold malfunction i open again this post to show how I solved this 2 years ago but I didnt post it.

Purcahsed new rear cable harness parking sensors in Skandix shop + 4 new parking sensors.
Than while installing oe by one used high quality thermo tube that have glue inside used normally for water tight cables under the water or extention of single power wires of 3 phases cables ect...

Now all parking sensors was first get 1 pcs of thermo astringent tube heated and no more humidity oxidation or water entering bad designed connectors that was problem on xc90 as i see even on 2018-2022 models what is big big shame as never hear on any other car producer that have so much problems like we had. Enough to read our forum to not mention worldwides forum. Yes i spit on this crap quality. :) Chinese Gelly Delfi cable harness crap factory Guangzhou and others involved. hahahha
Now over 2 years not 1 single problem with parking sensors.

Installed 15.02.2022 up today work perfect. :)

Image
Image
Image
Image
Image

Image

Image

Image

Image