Forum member ewizzle wrote up a good post describing the common trunk wiring harness problem with Volvo S40's. It is a common point of failure for these vehicles because of a [in my opinion] poor design, but something that is easily replaceable. If your trunk latch stops opening the trunk, this is a great place to start. Replacement harness's can be found online.
Difficultly rating: 3 (Really just one annoying part)
(1 is air filter changing and 10 is engine rebuild)
Approximate Duration: 1 hour for the inexperienced, ~30 min if you know what you are doing
Parts Needed:
* Replacement trunk harness (Part #8697604), found for about ~$40 (USD) online
Tools Needed:
* A pair of Needlenose Pliers (the longer the "needlenose" section, the better)
* flat head screw driver
* Scissors, garden shears, or similar cutting device
*nimble fingers
________________________________________________
I completed this replacement in ~1 hour this past weekend on my 2006 Volvo S40, and saved a ton of money in the process.
Steps:
1. Pop open the trunk (if the latch is broken, you may have to crawl in from the back seats and pull the emergency release lever)
![Image]()
view of the trunk door interior. Note location of emergency release lever and
2. Remove the trunk door interior by removing the 12 plastic press-fit fasteners. This can be done with your hands or with a pair of pliers:
![Image]()
3. Remove the Trunk latch cover, snake the emergency trunk release latch through the carpet, and remove the trunk lid carpet:
![Image]()
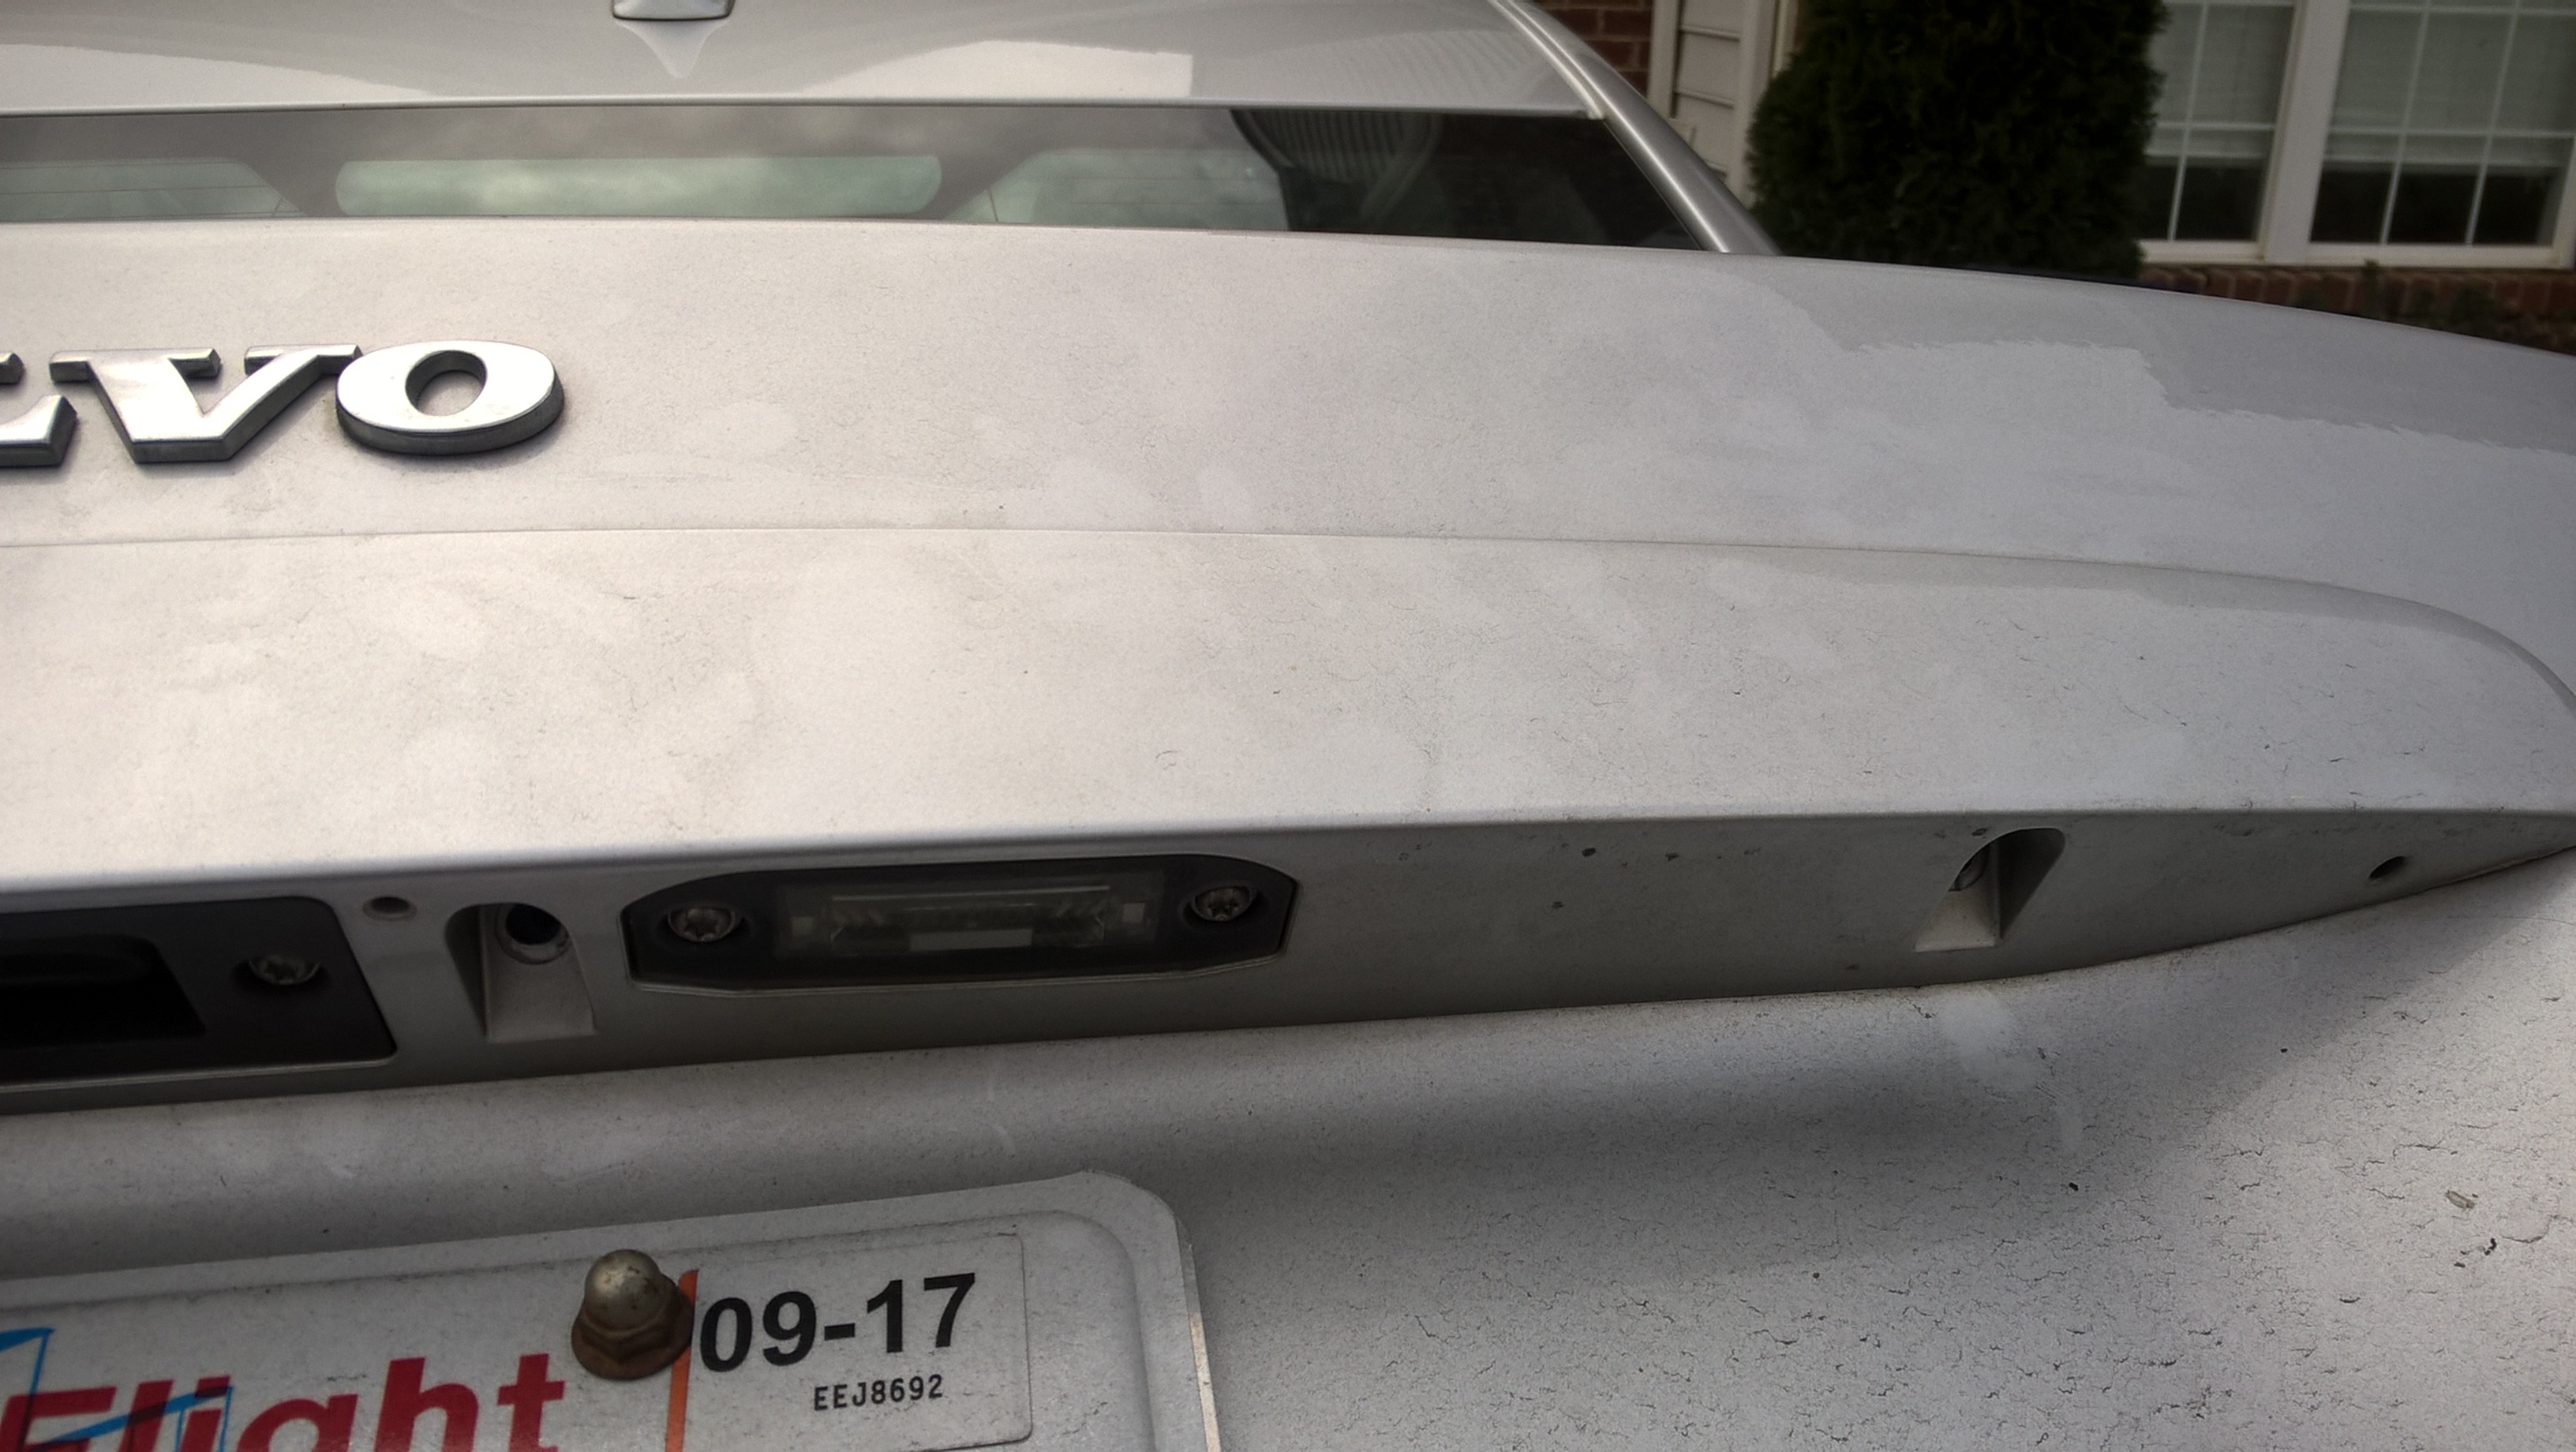
4. With the carpet removed, the harness (and it's 3 attach points) will be in full view. Disconnect it from the trunk lid at the the trunk latch and license plate lighting connectors. The license plate lighting connector may give you some trouble, as it is hard to get at. I put a long, narrow flathead screw driver up the manipulation hole, and looked through an eye hole as shown below:
![Image]()
5. Pop out both harness seals (where the harness goes from the trunk door to the car body. Their locations can be seen:
![Image]()
6. Reach in under the sheetmetal over the driver side tail light and disconnect the harness from the body connector.
7. Now that the harness is disconnected from it's electrical plugs, use a pair of scissors, shears, or piers to yank out all the harness retainers.
8. Basically reverse the process, connecting the new harness at the 3 plug attachment points and securing in the new harness retainer clips:
![Image]()
9. Go grab a cold beverage and enjoy the $$$ savings you earned from doing it yourself
____________
As a final note, thanks to user Dextrobrick for sending me some initial instructions to go off of.
Difficultly rating: 3 (Really just one annoying part)
(1 is air filter changing and 10 is engine rebuild)
Approximate Duration: 1 hour for the inexperienced, ~30 min if you know what you are doing
Parts Needed:
* Replacement trunk harness (Part #8697604), found for about ~$40 (USD) online
Tools Needed:
* A pair of Needlenose Pliers (the longer the "needlenose" section, the better)
* flat head screw driver
* Scissors, garden shears, or similar cutting device
*nimble fingers
________________________________________________
I completed this replacement in ~1 hour this past weekend on my 2006 Volvo S40, and saved a ton of money in the process.
Steps:
1. Pop open the trunk (if the latch is broken, you may have to crawl in from the back seats and pull the emergency release lever)

view of the trunk door interior. Note location of emergency release lever and
2. Remove the trunk door interior by removing the 12 plastic press-fit fasteners. This can be done with your hands or with a pair of pliers:

3. Remove the Trunk latch cover, snake the emergency trunk release latch through the carpet, and remove the trunk lid carpet:

4. With the carpet removed, the harness (and it's 3 attach points) will be in full view. Disconnect it from the trunk lid at the the trunk latch and license plate lighting connectors. The license plate lighting connector may give you some trouble, as it is hard to get at. I put a long, narrow flathead screw driver up the manipulation hole, and looked through an eye hole as shown below:

5. Pop out both harness seals (where the harness goes from the trunk door to the car body. Their locations can be seen:

6. Reach in under the sheetmetal over the driver side tail light and disconnect the harness from the body connector.
7. Now that the harness is disconnected from it's electrical plugs, use a pair of scissors, shears, or piers to yank out all the harness retainers.
8. Basically reverse the process, connecting the new harness at the 3 plug attachment points and securing in the new harness retainer clips:

9. Go grab a cold beverage and enjoy the $$$ savings you earned from doing it yourself
____________
As a final note, thanks to user Dextrobrick for sending me some initial instructions to go off of.