

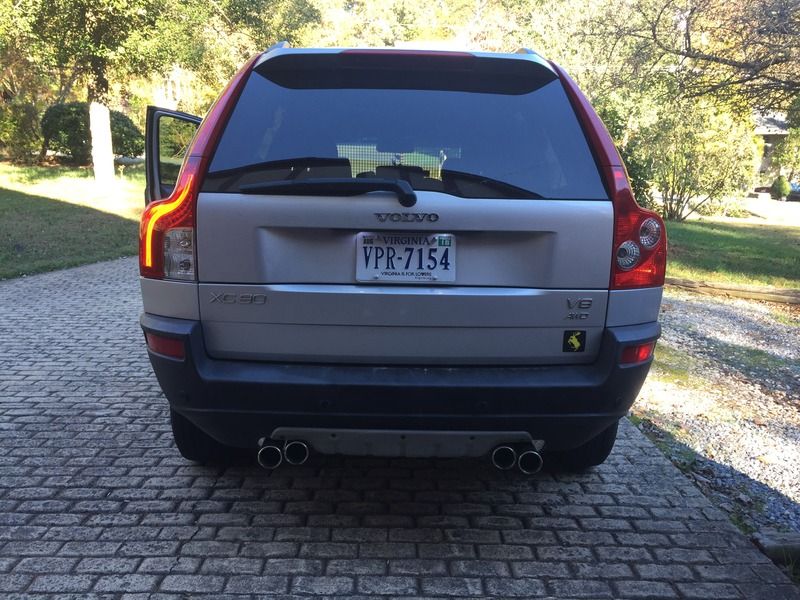
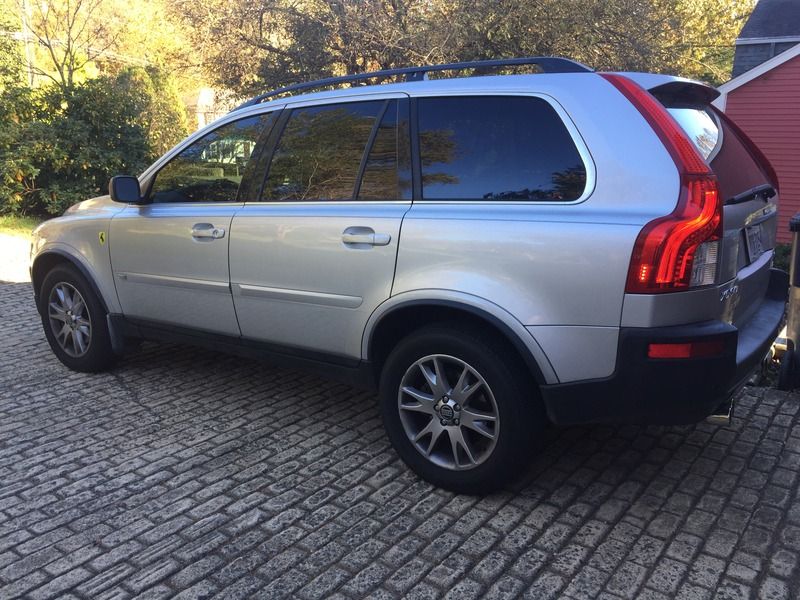
Hey all, I've been around for quite some time with my V70R but have now picked up a 05' XC90 V8 and I am loving it! Originally it was for my kids but after commuting with it to work for a couple weeks its growing harder and harder to relinquish the keys. So much fun that I've already started to mod it. I'll post those in a different thread. This one is for the LED tail light upgrade.
I know there are tones of threads out there spread out over many different forums including this one but none have pictures of the resisters or any other parts of the install, only before and after pictures. Well here it goes; so you have a older 1st gen or 2nd gen XC90 and you want that late model look with those seriously cool LED tail lights.
Items needed:
Volvo OEM LED Tail lights (cost between $160-$250 each depending on seller)
31335506
31335507
Volvo OEM 2007 uppers (cost between $40-110 each depending on seller)
30698142
30698141
2x 50 Watt 6 Ohm Resistors (increase resistance to eliminate Brake light code)
(Optional) 2x 25 Watt 30 Ohm Resistors (increase resistance to eliminate Parking light code; not all people will have this code pop up)
The installation is pretty simple. The 50 Watt 6 Ohm resistors attach between the Yellow brake wire and the Black negative wire on the inside part of the rubber grommet. This is the part that confused the crud out of me in all the forum threads because there are no pictures of this connection.
Changes:
The rear fog light will change from the primary tail assembly to the lower old marker lights. This is done in the LED tail light wiring and the only thing you will have to do is trim a tab off the lower marker light plug.
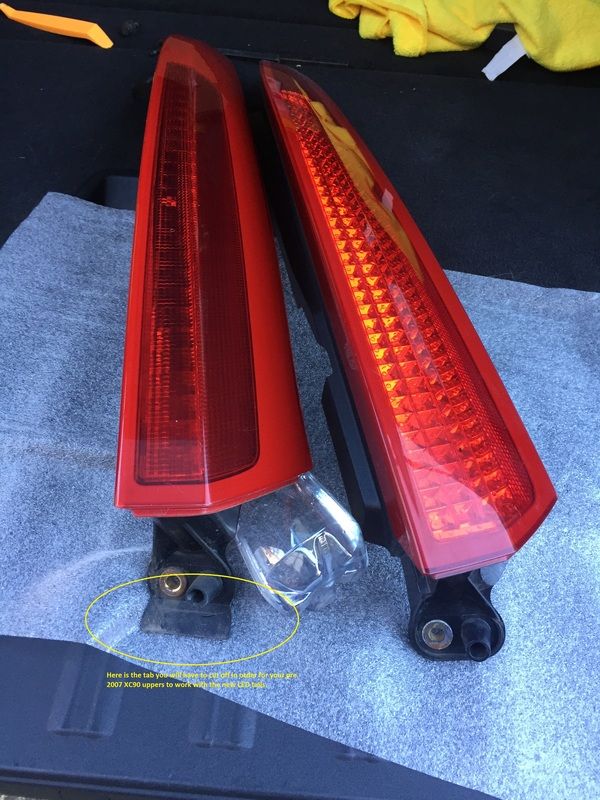
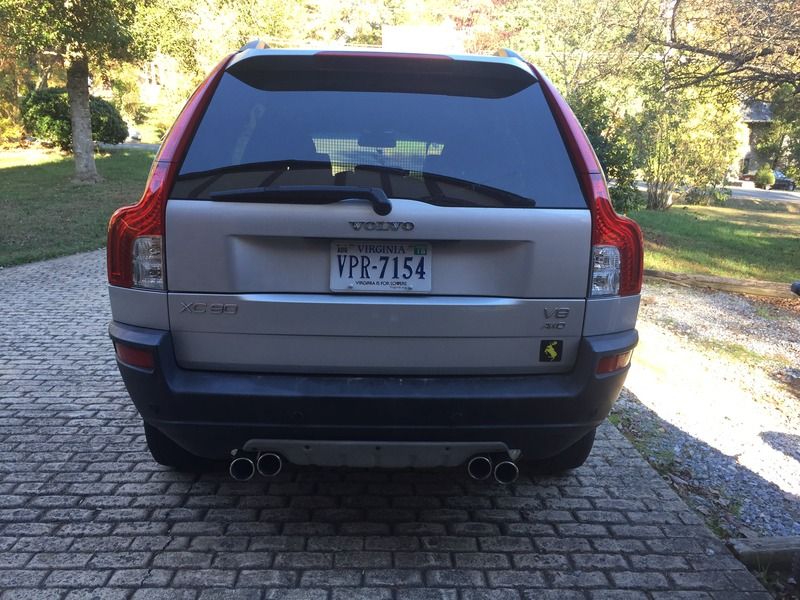
Here is the comparison between the new LED on the left and old pre 07' on the right.

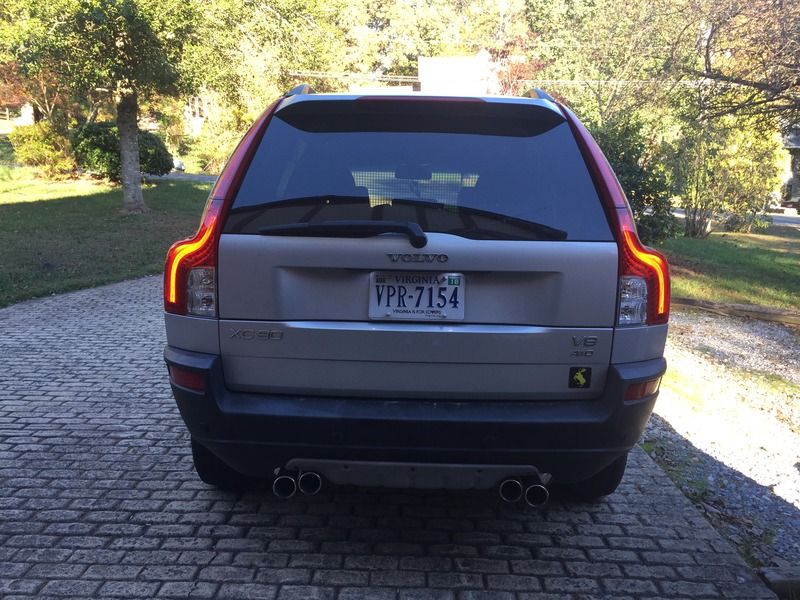
With the parking lights on:
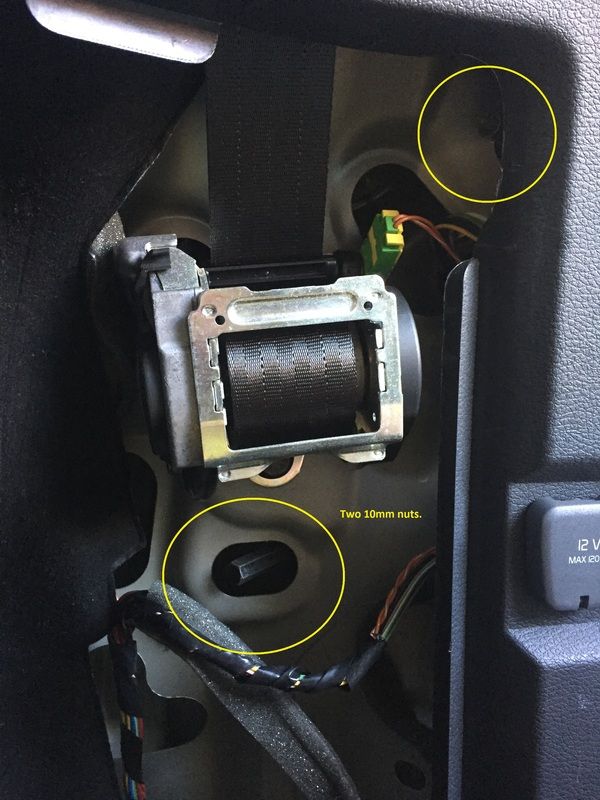
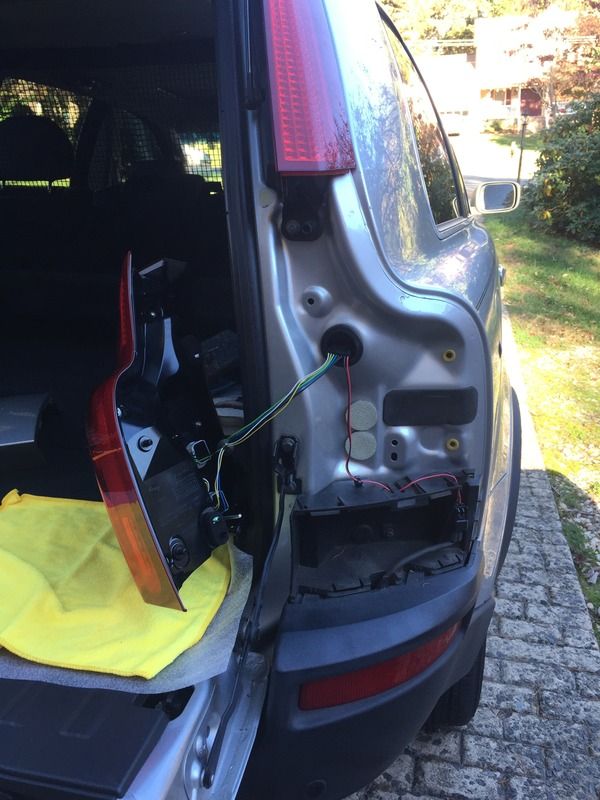
Once you take off the interior panel exposing the back side of the tail light and wiring you will have 2x 10mm nuts to take off:
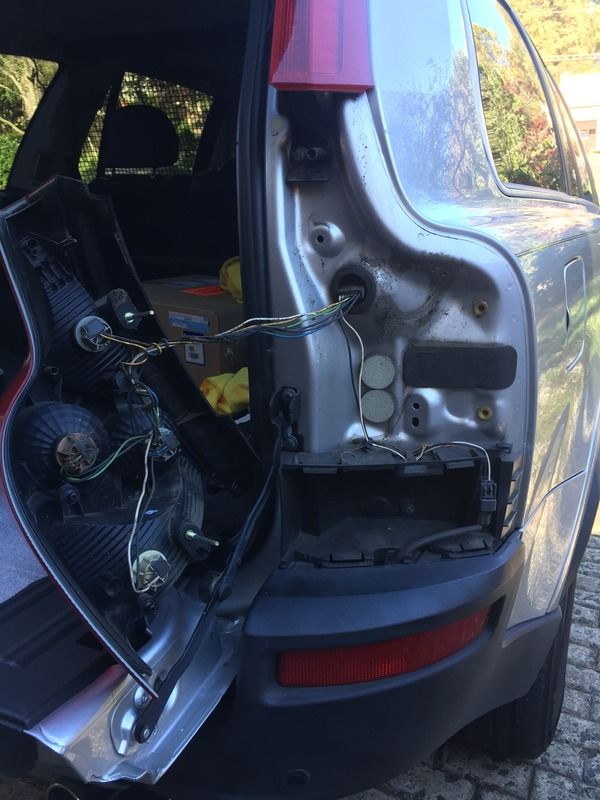
Tail light pulled straight out and set to the side:
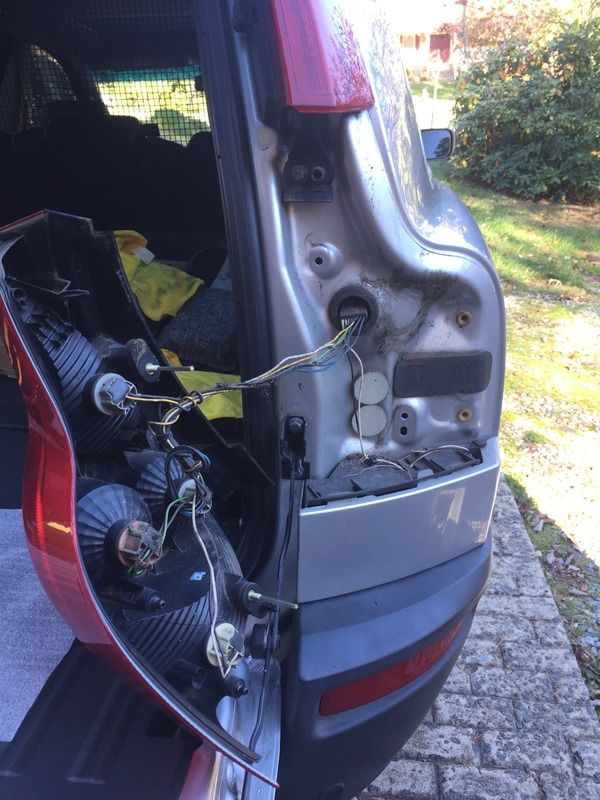
The lower trim piece between the tail light and bumper pulled straight out:
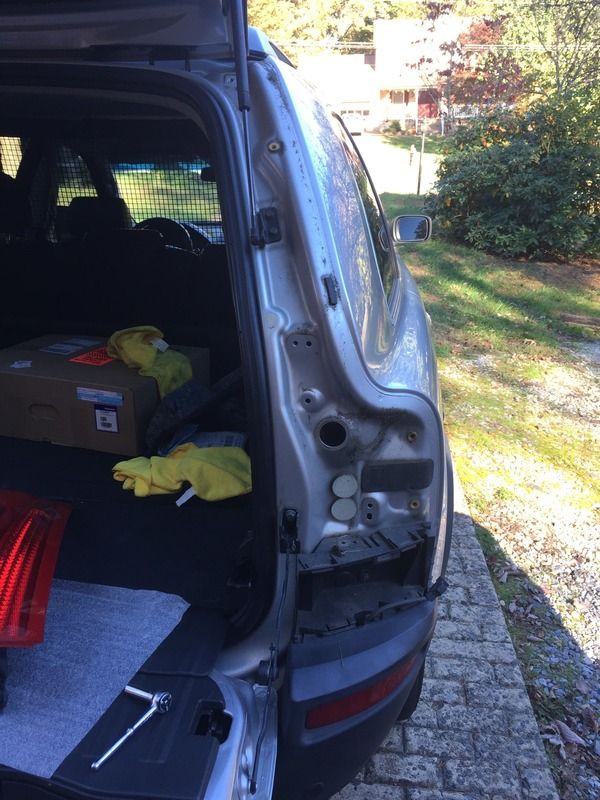
Both the Upper and Lower tail lights removed. Yuck over 12 years of dirt and grime.
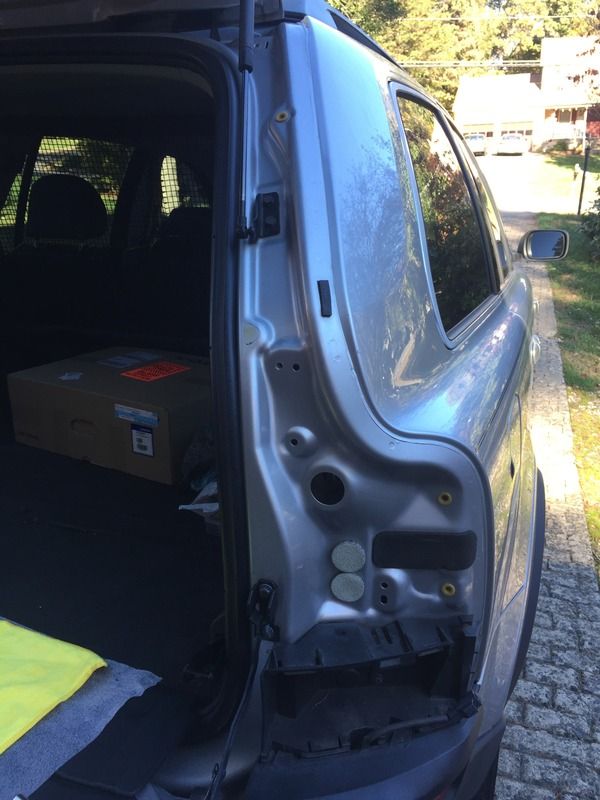
All wiped down and cleaned up:
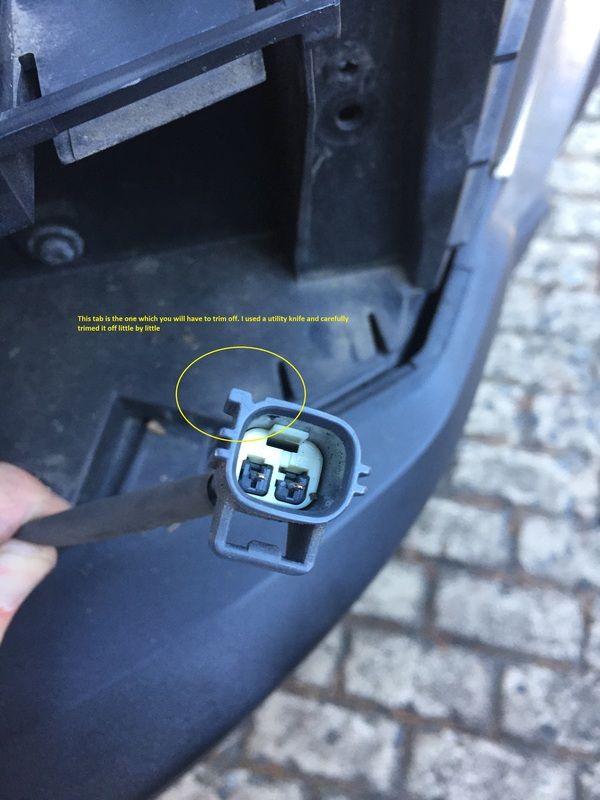
If you choose to use your pre 07' uppers there is a tab you must remove. (I bought newer uppers off eBay for $80 for both so I didn't have to do this.) So this picture is only if you want to save money and use your old uppers.
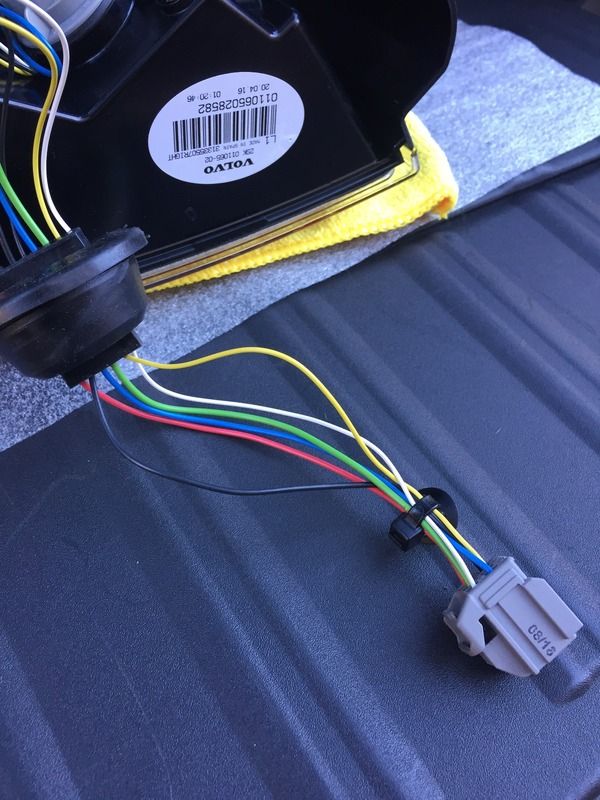
Here is a picture of the tail light wiring to indicate where the rubber grommet is and where to put the resistor.
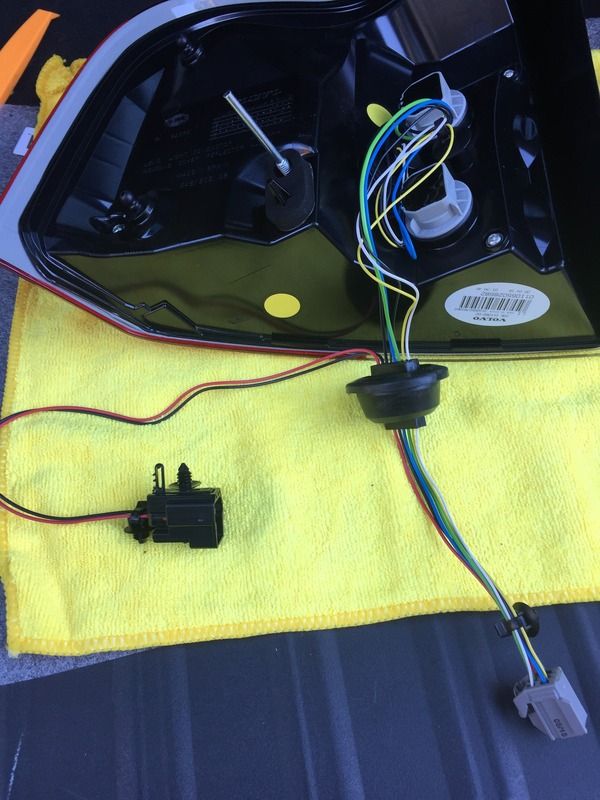
These are the Yellow and Black wires you will have to tap:
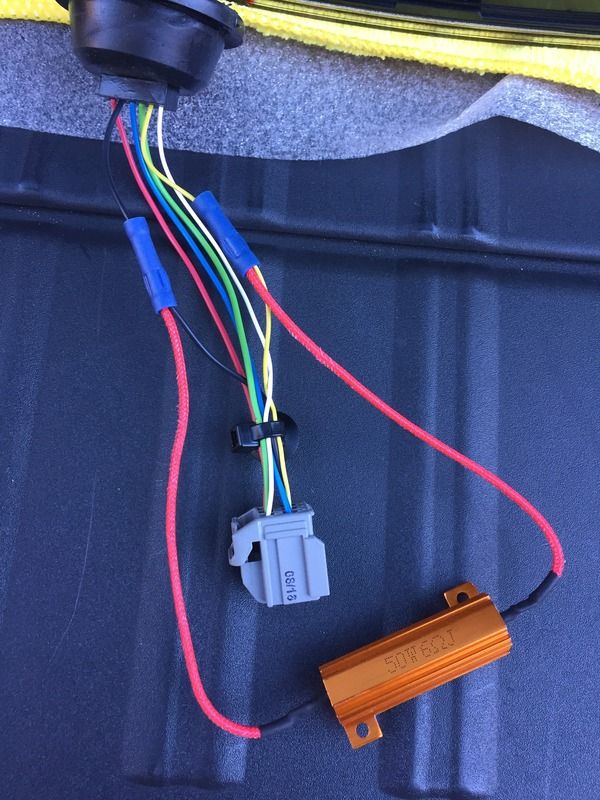
The 50W6O resistor installed:
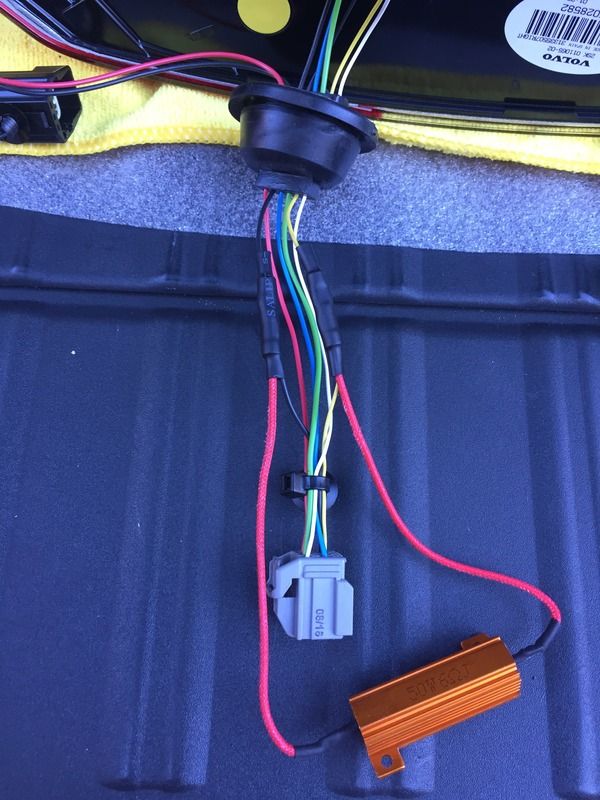
All sealed up:
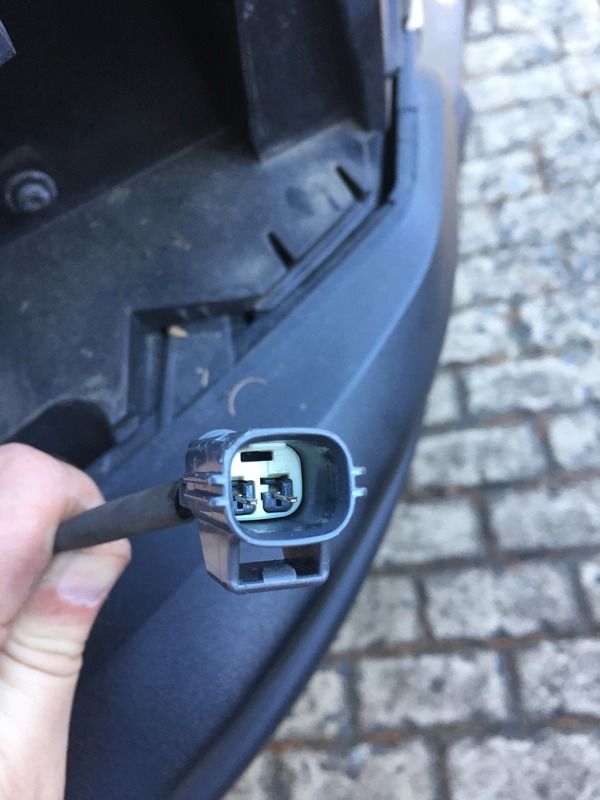
The old lower parking lights will now be fog lights so to attach them to the new tails a tab must be removed:
Here is the tab removed:
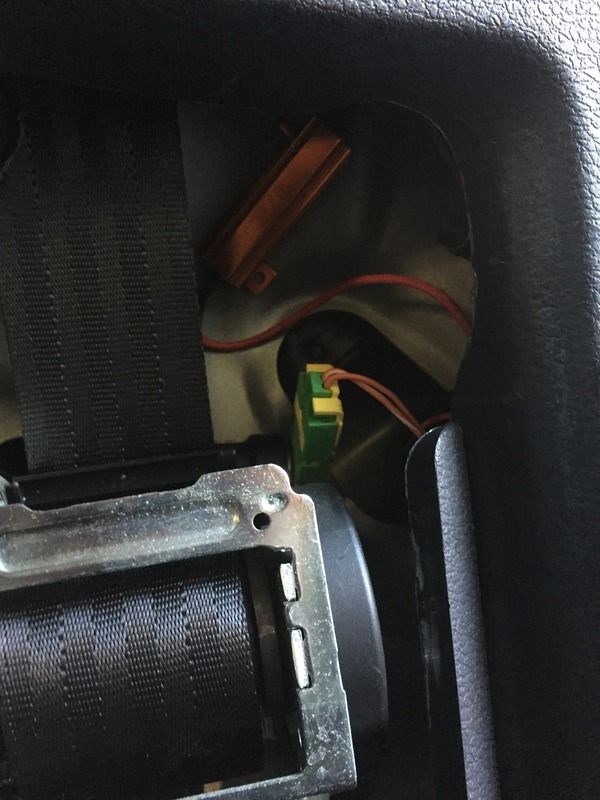
The lower new rear fog connected and harness ran into the truck:
In put on some 3m Double sided tape on the resistor to attach it to the inside body. Place it away from any plastic as they will get hot.
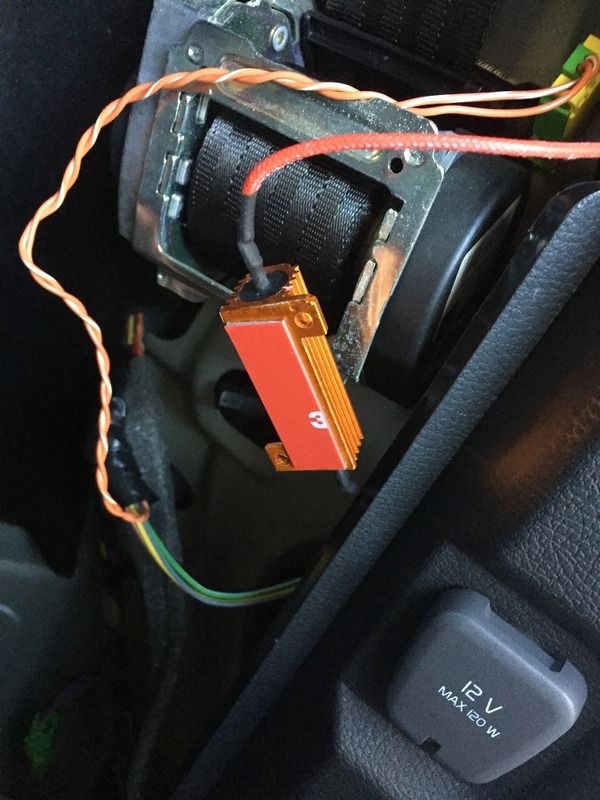
Here is the resistor attached:
LED tails installed and complete:
Parking lights on:
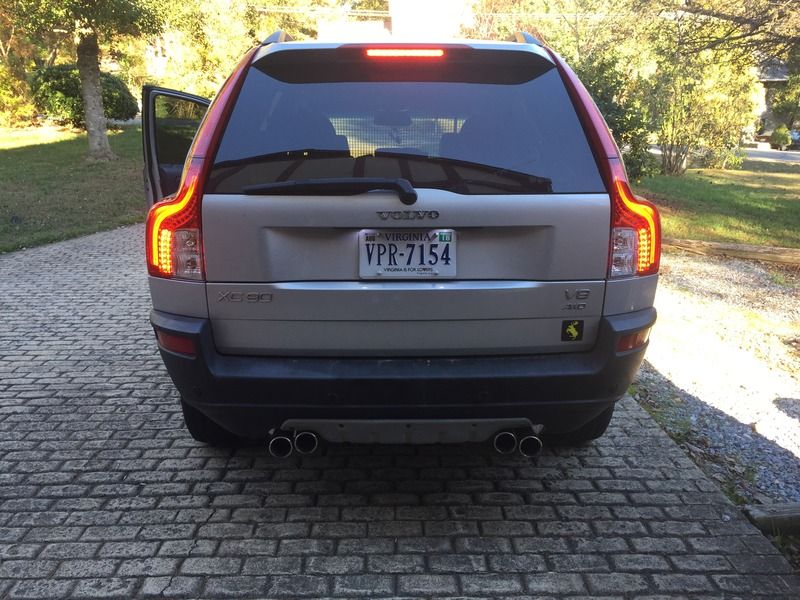
Brake lights on:
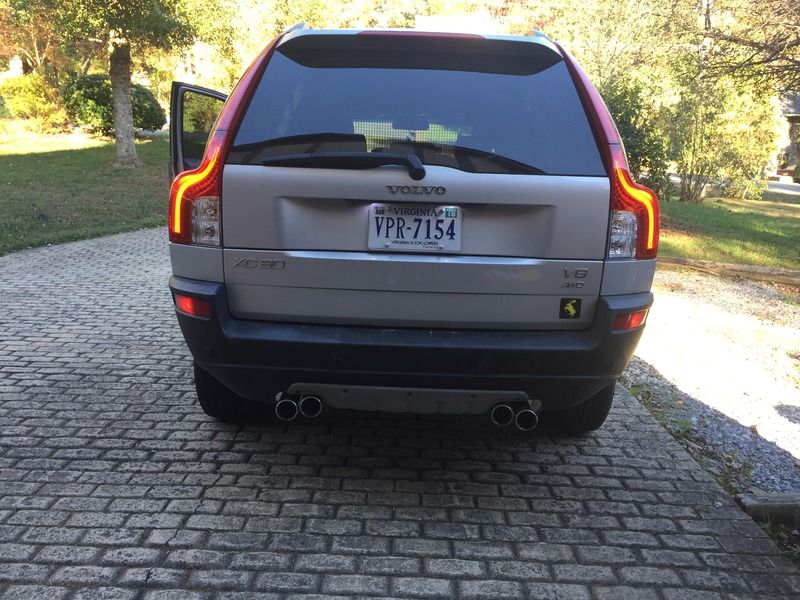
Lower Fog lights on:
Sweet pic of my Prancing Moose!
I know there are tones of threads out there spread out over many different forums including this one but none have pictures of the resisters or any other parts of the install, only before and after pictures. Well here it goes; so you have a older 1st gen or 2nd gen XC90 and you want that late model look with those seriously cool LED tail lights.
Items needed:
Volvo OEM LED Tail lights (cost between $160-$250 each depending on seller)
31335506
31335507
Volvo OEM 2007 uppers (cost between $40-110 each depending on seller)
30698142
30698141
2x 50 Watt 6 Ohm Resistors (increase resistance to eliminate Brake light code)
(Optional) 2x 25 Watt 30 Ohm Resistors (increase resistance to eliminate Parking light code; not all people will have this code pop up)
The installation is pretty simple. The 50 Watt 6 Ohm resistors attach between the Yellow brake wire and the Black negative wire on the inside part of the rubber grommet. This is the part that confused the crud out of me in all the forum threads because there are no pictures of this connection.
Changes:
The rear fog light will change from the primary tail assembly to the lower old marker lights. This is done in the LED tail light wiring and the only thing you will have to do is trim a tab off the lower marker light plug.
Here is the comparison between the new LED on the left and old pre 07' on the right.

With the parking lights on:

Once you take off the interior panel exposing the back side of the tail light and wiring you will have 2x 10mm nuts to take off:

Tail light pulled straight out and set to the side:

The lower trim piece between the tail light and bumper pulled straight out:

Both the Upper and Lower tail lights removed. Yuck over 12 years of dirt and grime.

All wiped down and cleaned up:

If you choose to use your pre 07' uppers there is a tab you must remove. (I bought newer uppers off eBay for $80 for both so I didn't have to do this.) So this picture is only if you want to save money and use your old uppers.

Here is a picture of the tail light wiring to indicate where the rubber grommet is and where to put the resistor.

These are the Yellow and Black wires you will have to tap:

The 50W6O resistor installed:

All sealed up:

The old lower parking lights will now be fog lights so to attach them to the new tails a tab must be removed:

Here is the tab removed:

The lower new rear fog connected and harness ran into the truck:

In put on some 3m Double sided tape on the resistor to attach it to the inside body. Place it away from any plastic as they will get hot.

Here is the resistor attached:

LED tails installed and complete:

Parking lights on:

Brake lights on:

Lower Fog lights on:

Sweet pic of my Prancing Moose!


