

Foreword: most of the parts on Volvo are designed for easy assembly and made of inexpensive materials(plastic). However, to remove these parts sometimes causes the plastic parts to bend/stretch/break. Proceed with caution...
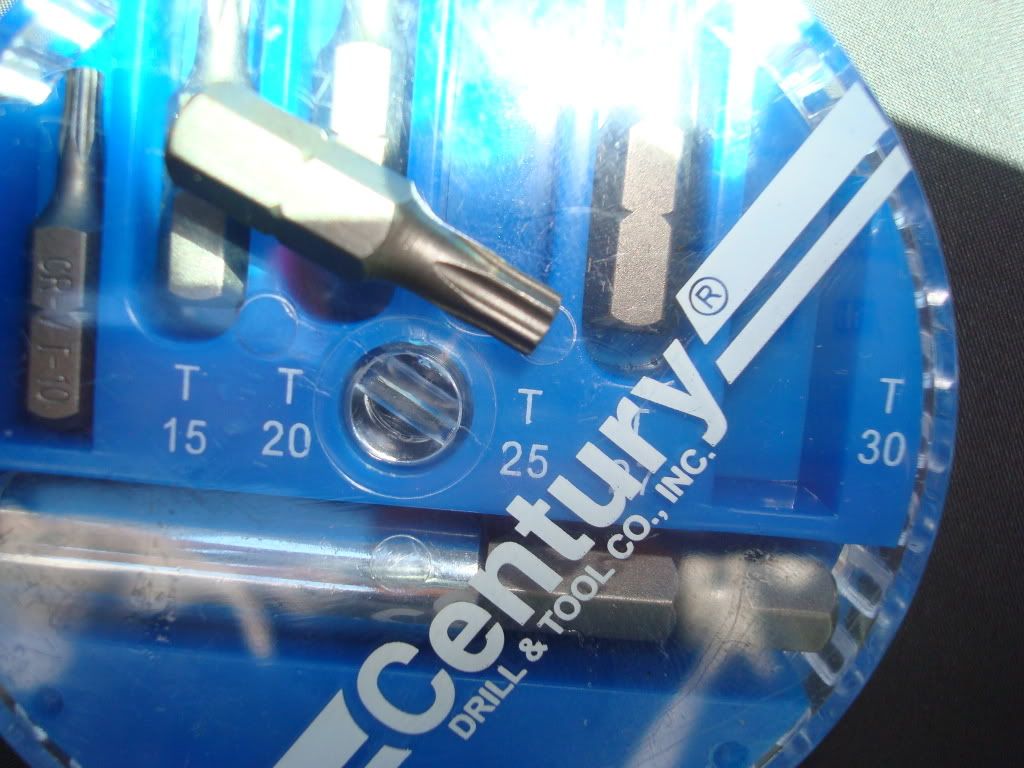
Tools Needed for panel: T25 Torx + one small and one large flat-head screwdriver, and plastic putty knife w/ V cut, or professional plastic weatherstrip tool (preferred).
Tools needed for weatherstrips: A very long(12+) and skinny flat-head screwdriver and some soap-water.
Tools needed for removing tint: Razorblade, Isopropyl alcohol(70-91%), terry cloths/towels.
Driver's sidel panel:
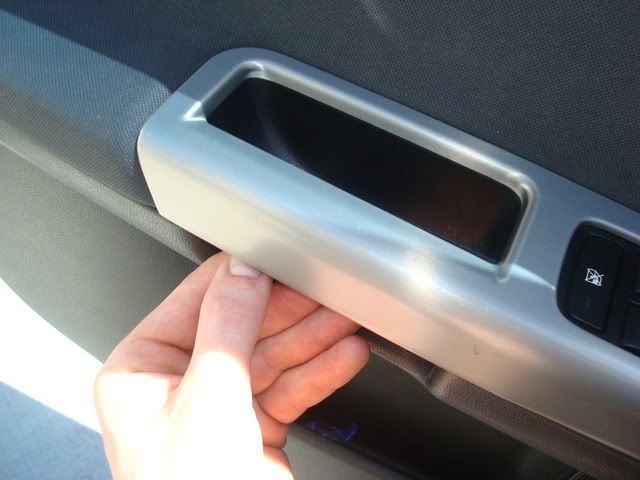
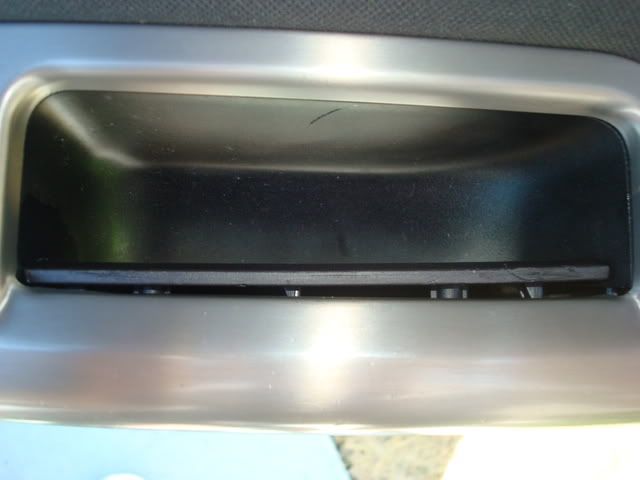
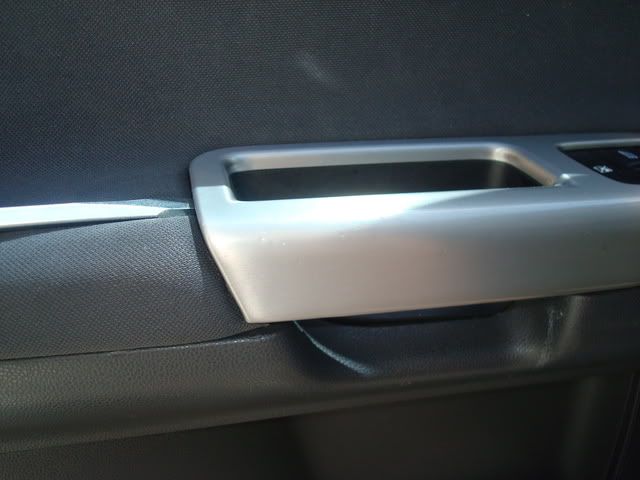
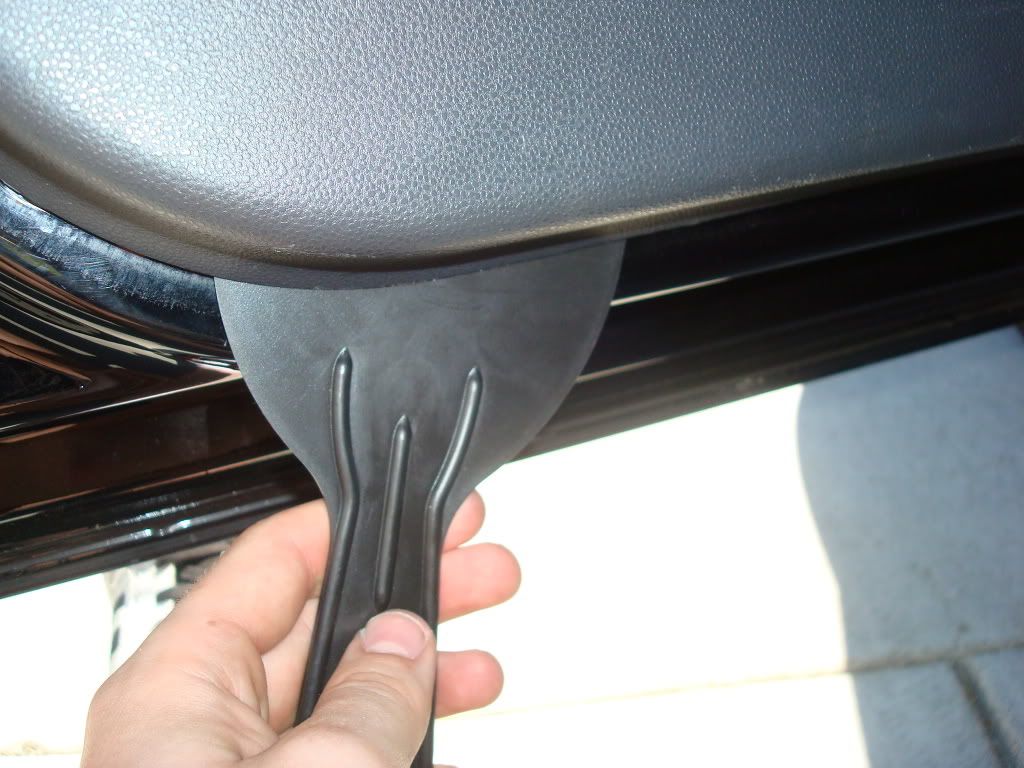
Pry off the door-trim piece, using your fingernail on bottom and a small flathead screwdriver from the top. (You must remove this before trying to pull out the keypad)
![Image]()
![Image]()
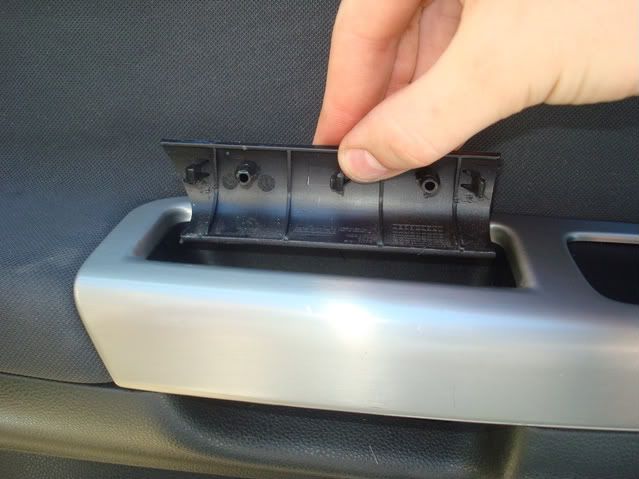
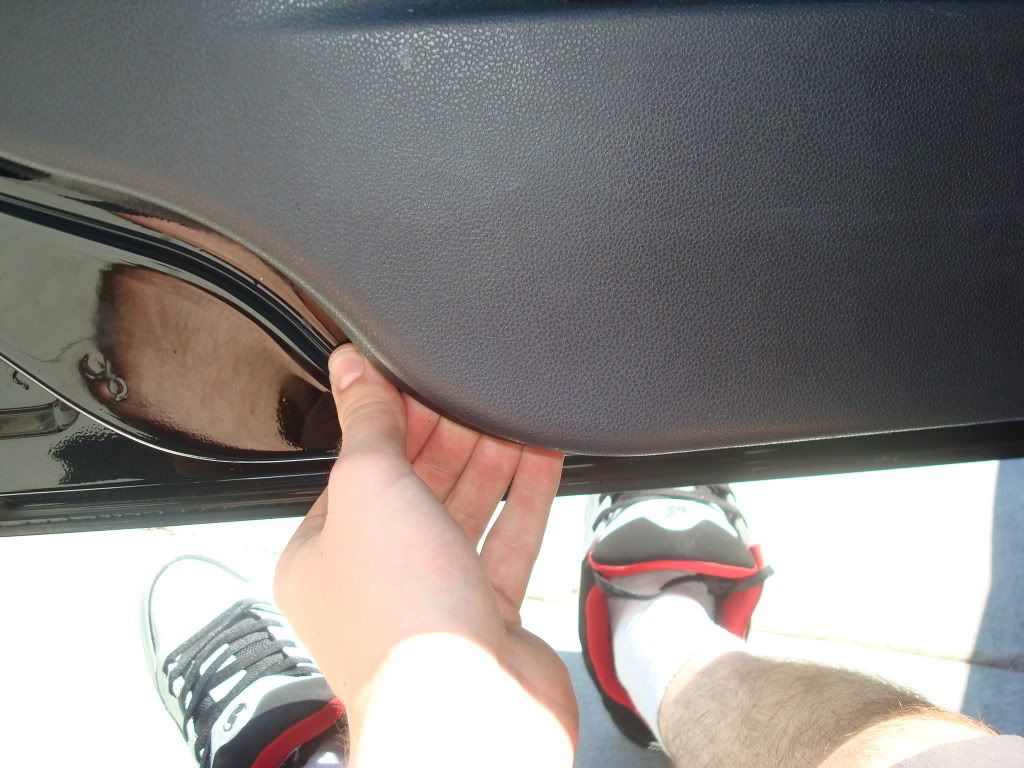
Pull it out straight towards the panel. If it gets stuck, push back in and try again. DO NOT FORCE IT, or you'll strip/break the plastic.
![Image]()
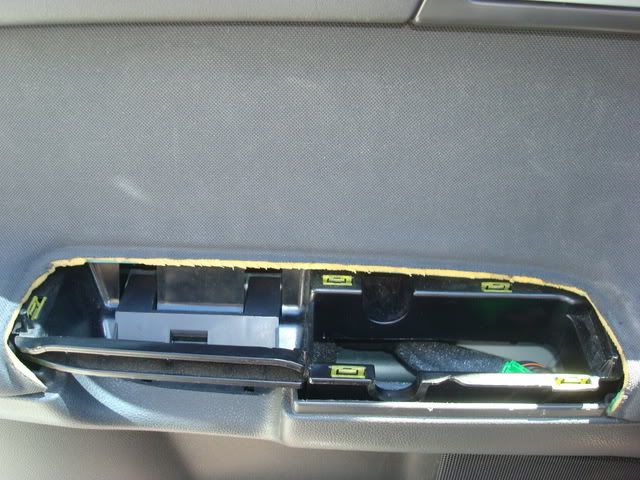
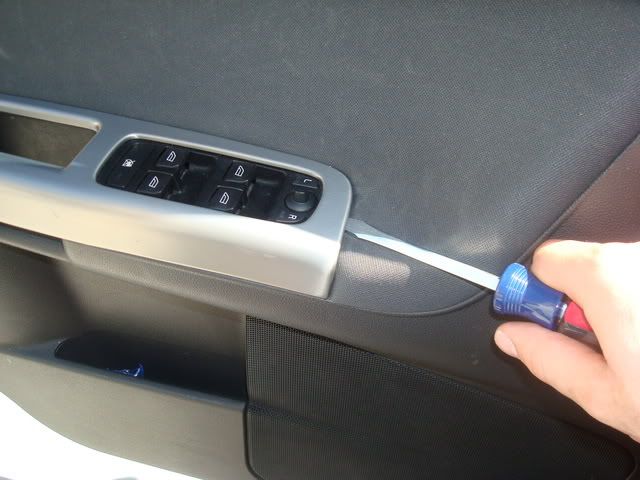
Next, take your large flat head (or your "proffessional plastic weatherstrip tool")and pry off the keypad. This is the tricky part b/c you could break the plastic clips that snap into panel, so BE CAREFUL. As you can see there's total of 6 clips.(5 on top and one below inside the handle well)
![Image]()
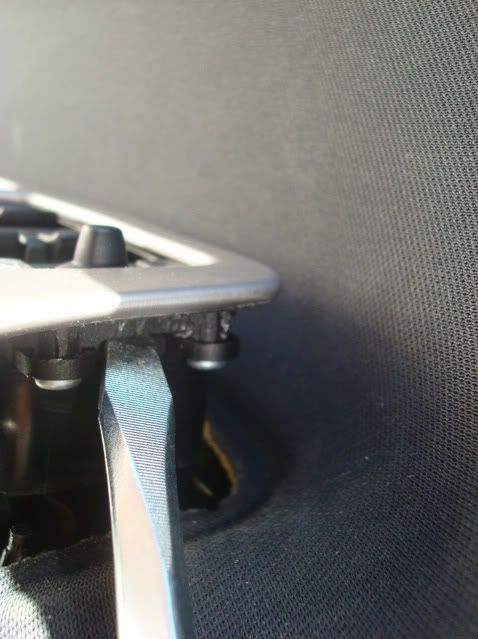
I like to start from this end since it only has single clip in the middle and therefore most likely to break.
![Image]()
You should hear a popping sound as the clips become undone, if it's not going out and making a creaking sound. That means one of the clips is coming out crooked, so you might want to push it back in and try again.
![Image]()
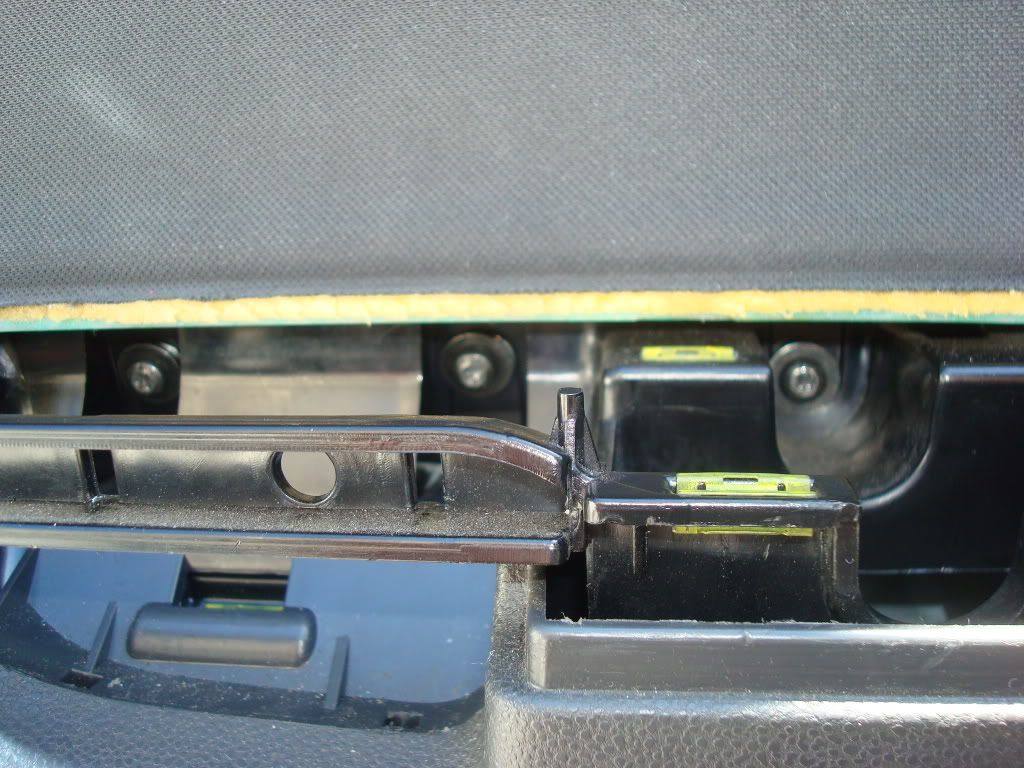
You want to aim in-between those two screws.
![Image]()
Next disconnect the keypad harness.
![Image]()
Press-in on the catch and pull straight out.
![Image]()
Next you want to remove 3 bolts that secure the door panel.
![Image]()
With this tool(T25 screwdriver)
![Image]()
Now comes the fun part
![Image]()
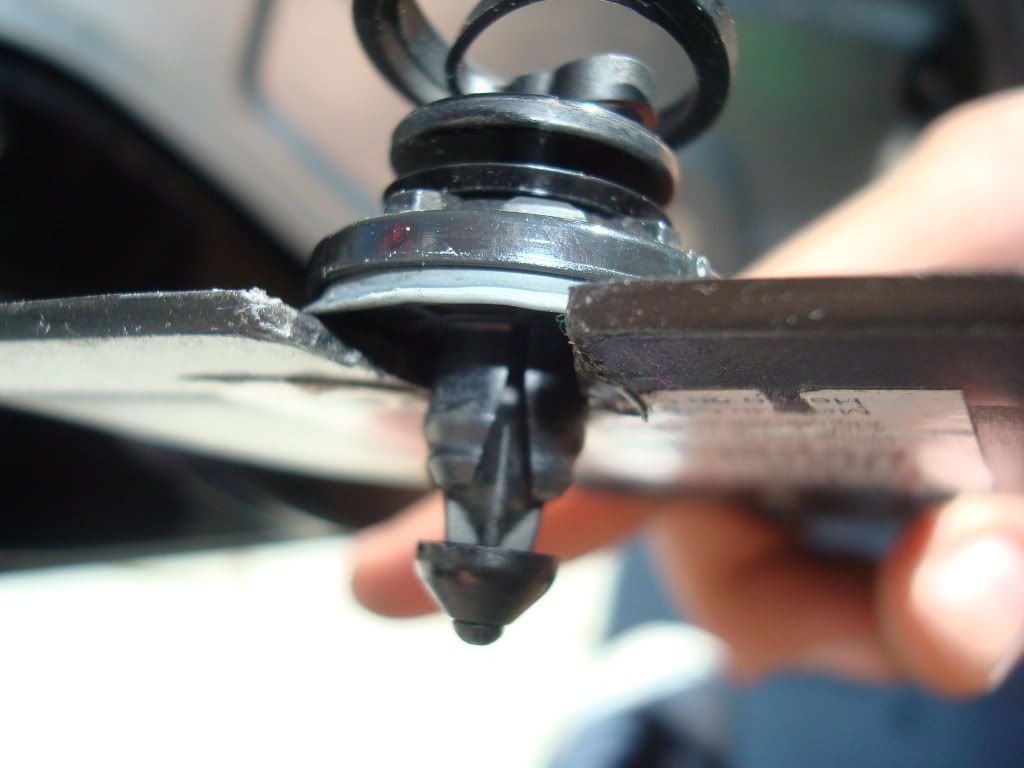
You need to pry off 8 plastic clips that secure the door panel without breaking them or stretching out the plastic on your panel. Here's a shot so you could get an idea where each clip is:
![Image]()
For this I use my plastic putty knife tool, but it doesn't work as well as it seems. You should really get a good plastic weatherstrip tool(the kind that looks like a breaker bar, but flatter and made of plastic) A large flatheaded screwdriver works also, but be careful not to scratch anything.
![Image]()
The putty knife doesn't get the clips undone completely. The best way is to pull one side with your hand, and pry on the other side of the clip w/putty knife.
![Image]()
Sometimes the clips just slide off and get stuck on the door.
![Image]()
This is where you could practice your putty-knife technique
![Image]()
![Image]()
![Image]()
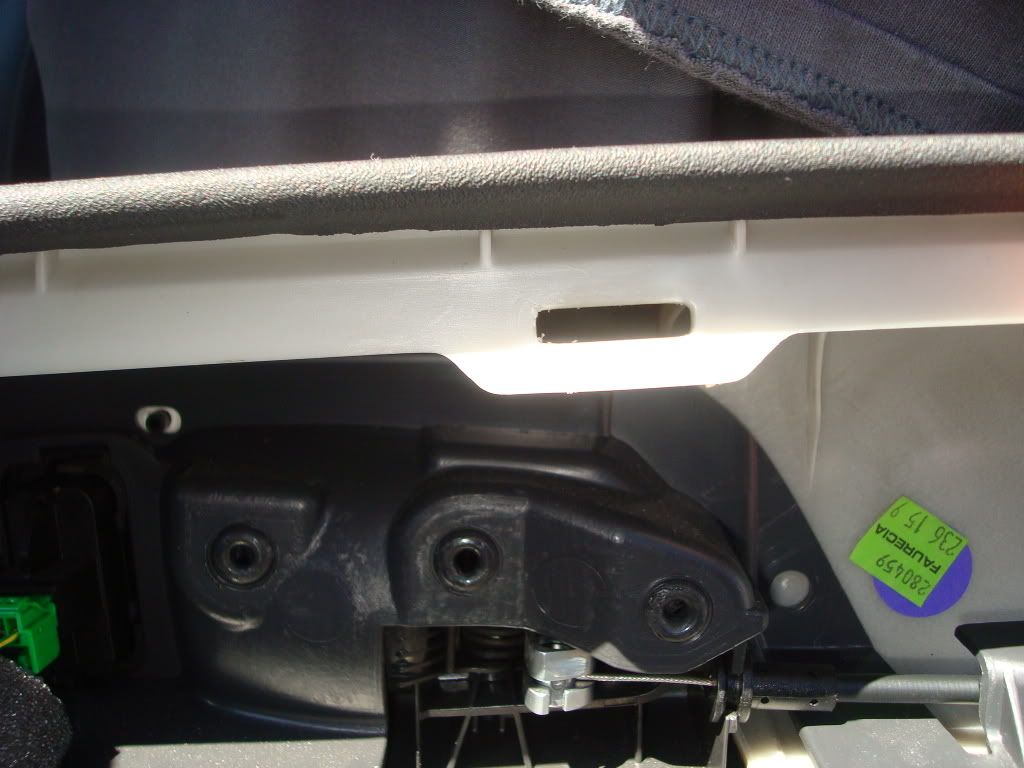
After you get all of the clips un-done, push in the door lock pin...
![Image]()
and pull straight back
![Image]()
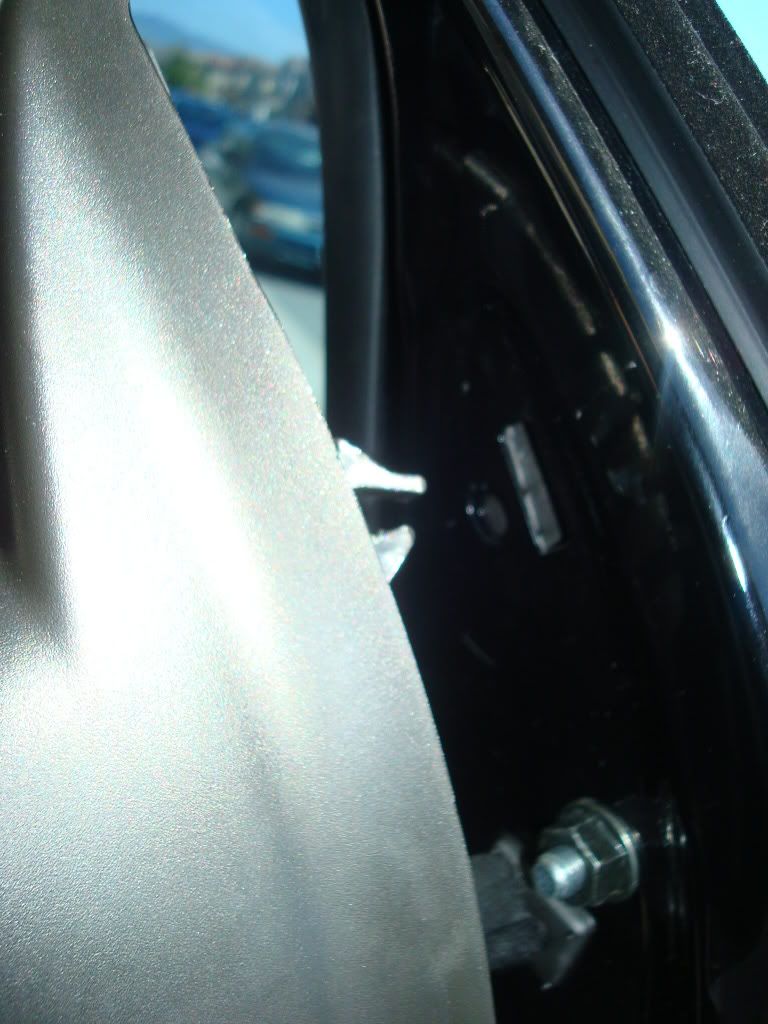
Just to give you a better idea how it's secured:
This clip....
![Image]()
... goes in this hole:
![Image]()
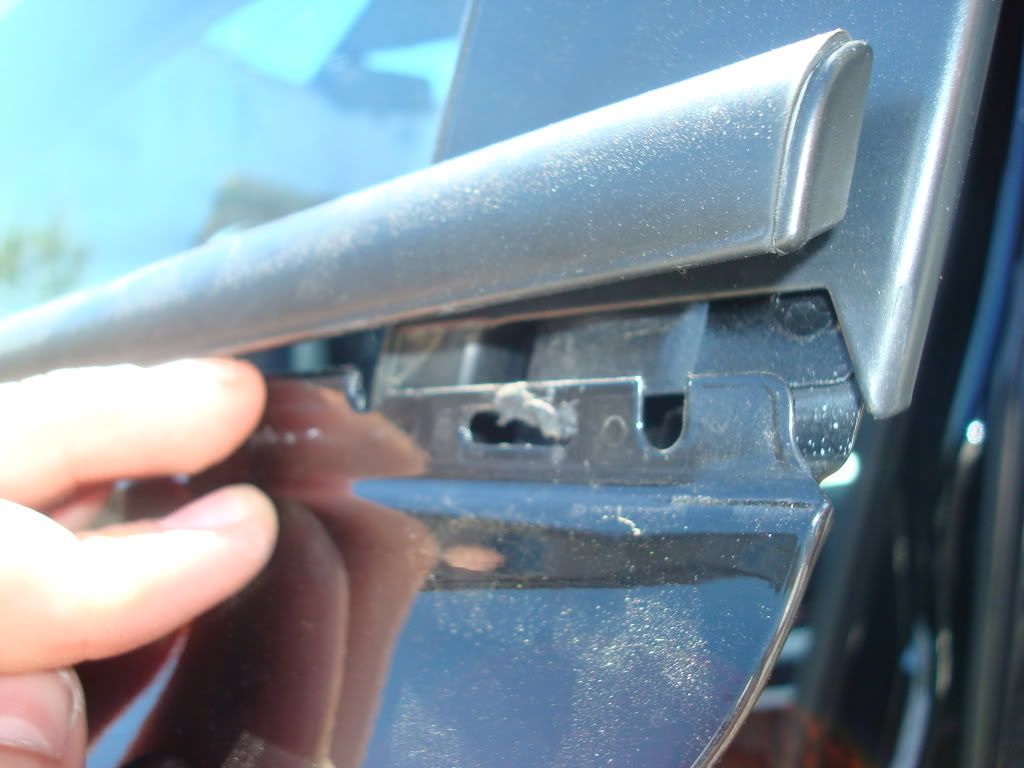
Next, undo the speaker clip...
![Image]()
![Image]()
Now you have to disconnect stuff...first would be the speaker cable(not shown). You could see where it connects on the right(that gray connector)
![Image]()
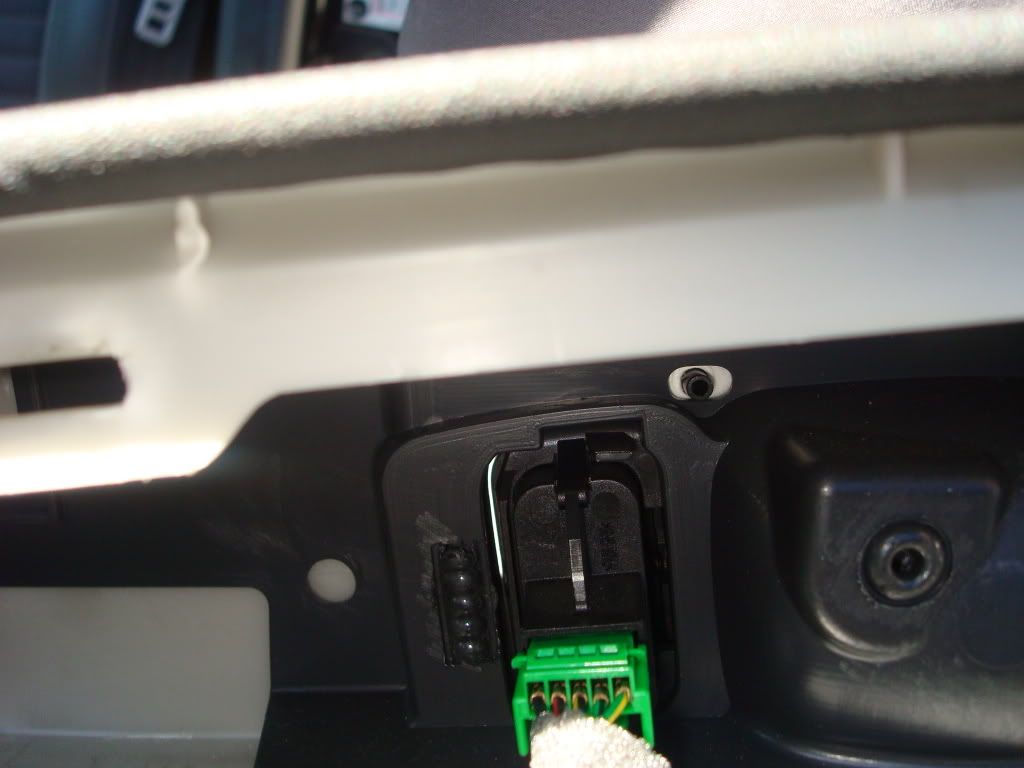
Disconnect the connector for the door lock switch...
![Image]()
... and undo the cable from the door handle.
![Image]()
Here's few pix of the front door speaker(premium sound)
![Image]()
You could see the 4 rivets that secure it.
![Image]()
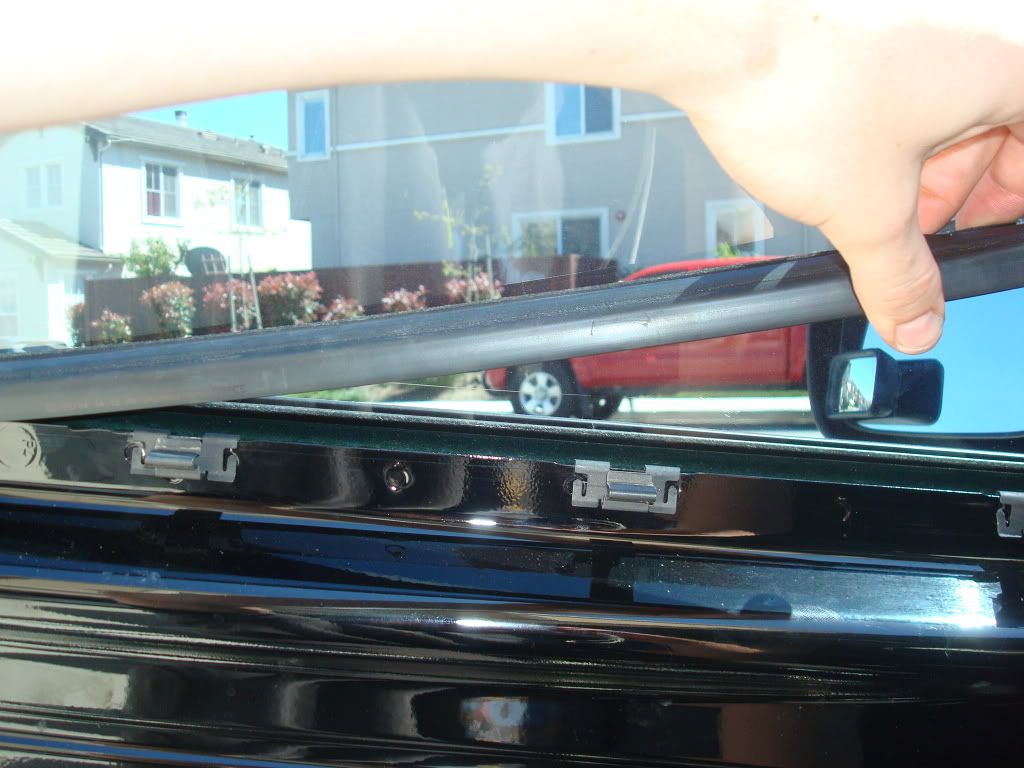
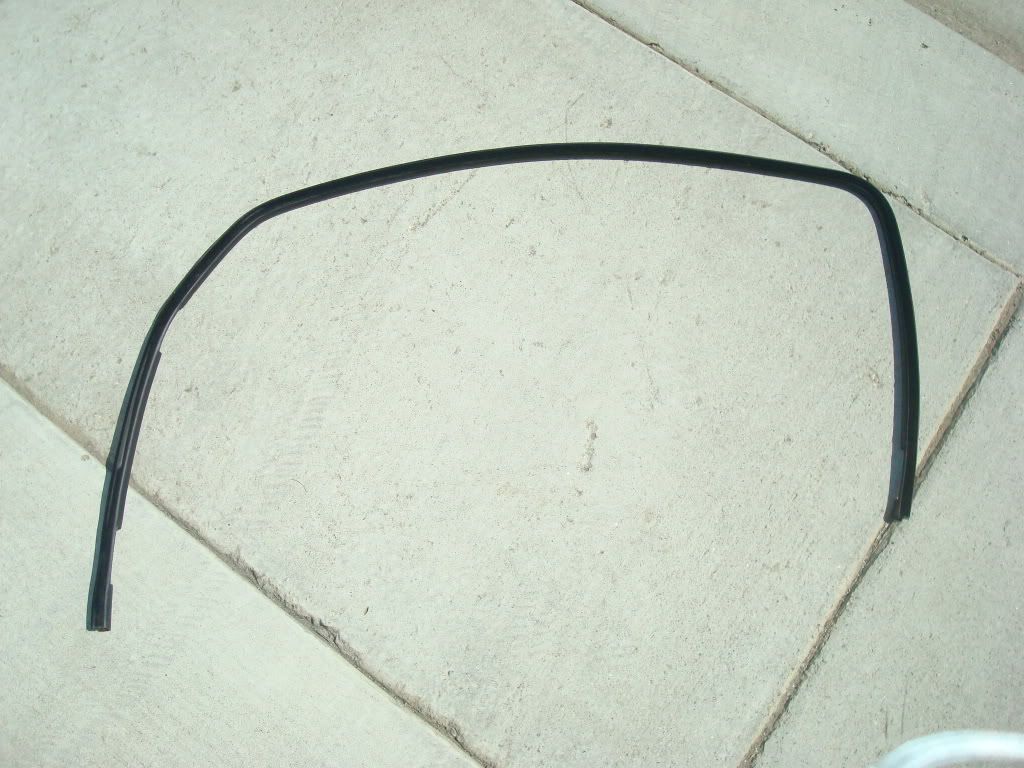
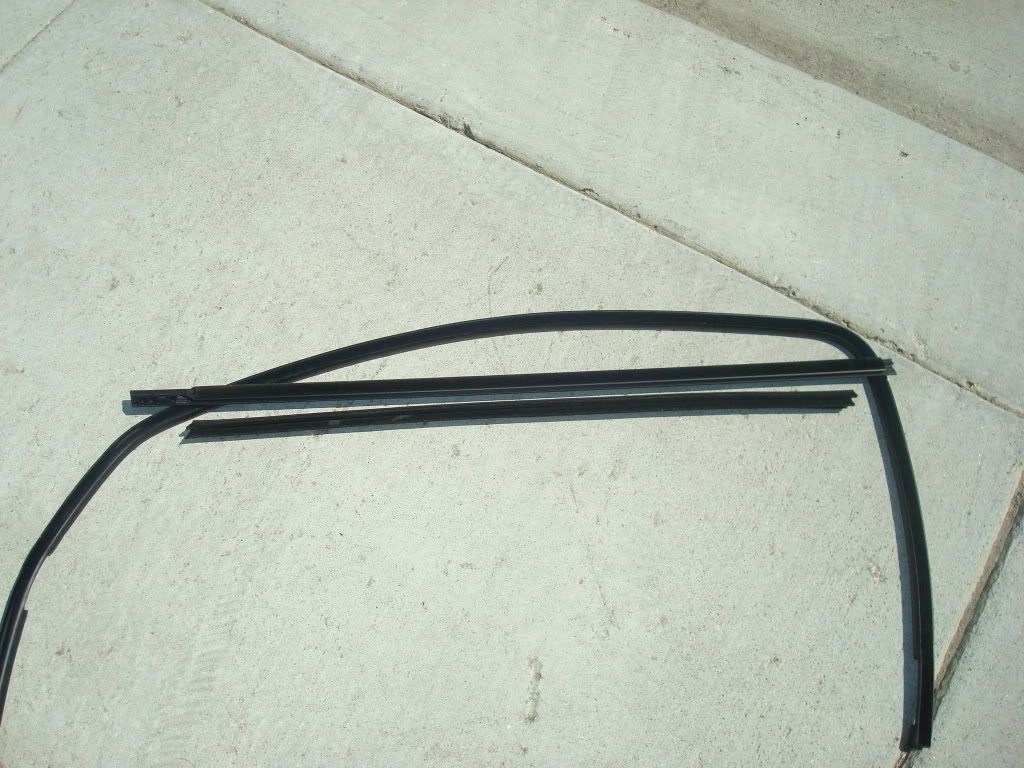
Now, for the weatherstrips.
Start from the side by the mirror and pull straight up.
![Image]()
![Image]()
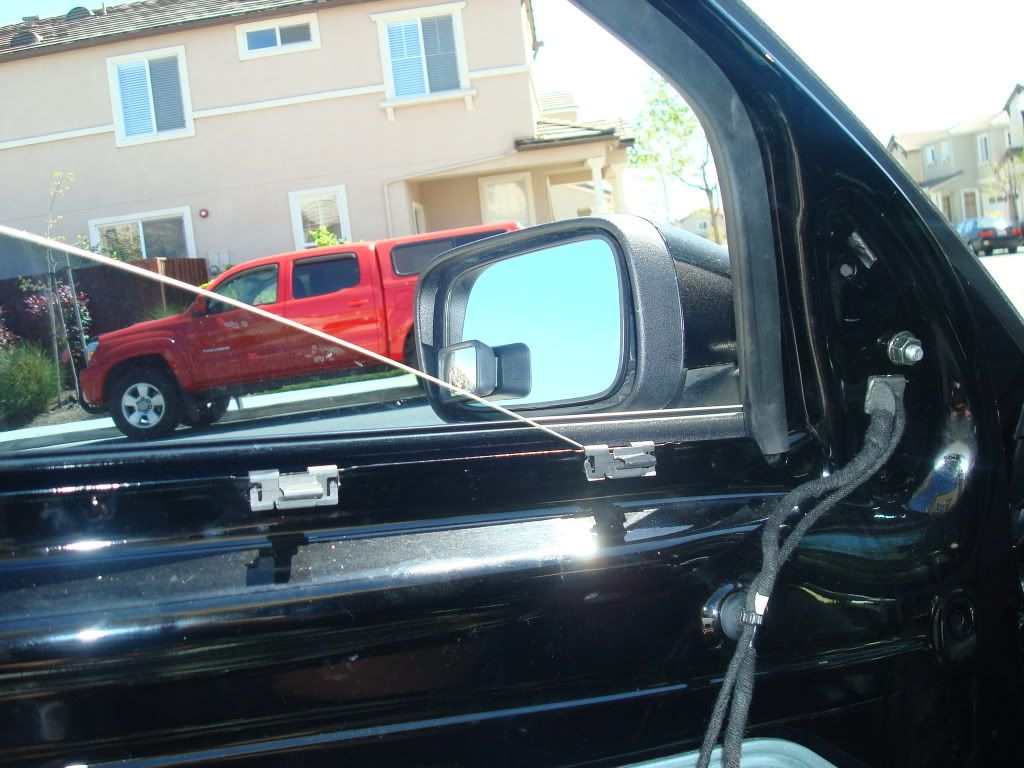
Now, to get the other one, you might want to roll down your window to about here. (You could plug in the keypad for the window)
![Image]()
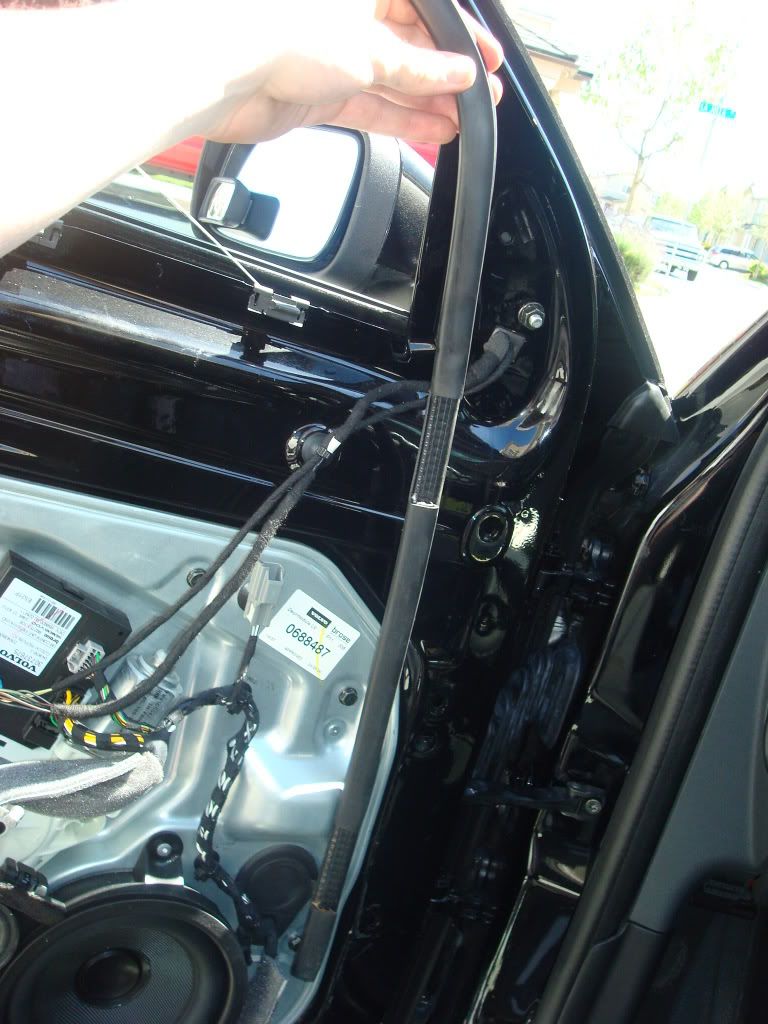
as you can see, this side has a very long weatherstrip. This is where your long screwdriver comes in when you put it back.
![Image]()
Another tip, see that large rubber grommet/cover? You could use that to secure the weatherstrip all the way down. I just realized that myself, after I already installed the panels. Oh well, next time they're off again, I'll secure it better.
![Image]()
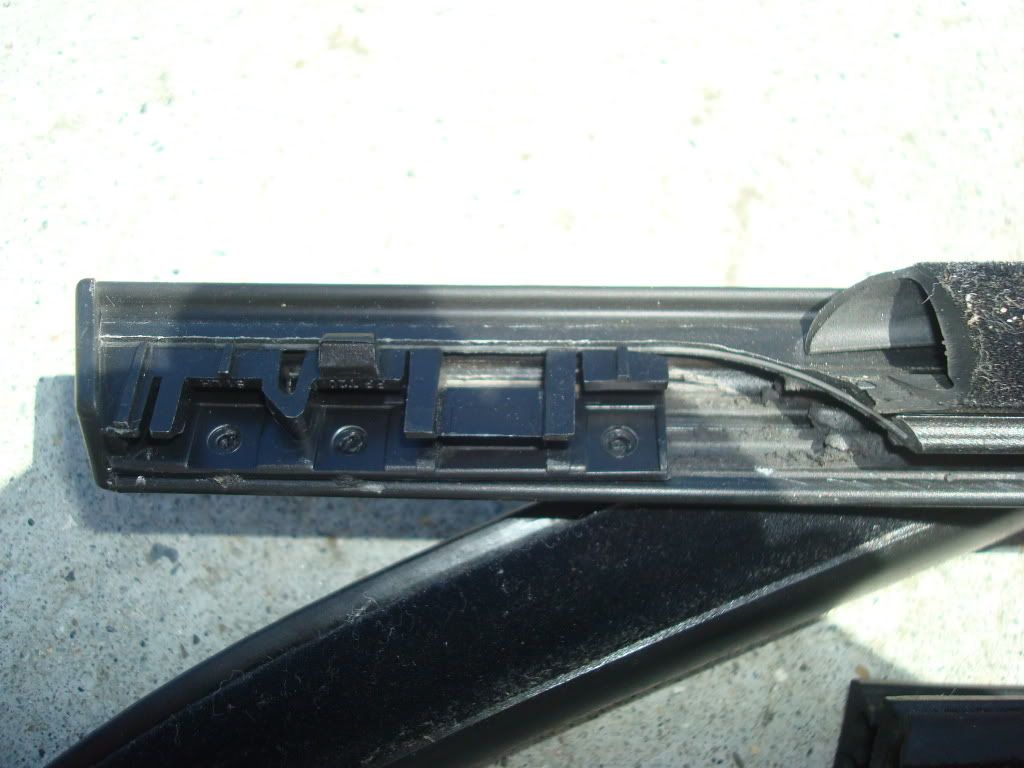
Next, is the outside weatherstrip. I usually start at this end(by the door handle), and gently push the weatherstip up. Once again, you don't want to force it or it'll break...
![Image]()
![Image]()
...this clip.
![Image]()
These are not all the weatherstrips, just the one's you need to remove to thoroughly clean your window.
![Image]()
Now, for the tint:
Take a brand new blade(don't want to scratch the window), and peel some of the tint.
![Image]()
I usually start from the middle, and then work my way around
![Image]()
You want it to come off in one piece(instead of a bunch of small pieces)
![Image]()
Next, roll up your window and finish pulling off the film.
![Image]()
You could tell that the tint is old and faded(see the puprle ?)
![Image]()
The reason I removed the weatherstrips/panel, is so I could thoroughly clean the glue from the windows. If you don't do this, chances are the window will have a hard time rolling up/down because of the glue sticking to the weatherstrip.
Here's some helpful tips:
Put some tape(electr./duct) on the screwdriver to avoid scratches.
Next time at the dealership, buy a few extra door clips. They break quite easily, and the last thing you want is to be missing a door clip.
Also, might want to pick up some new door handle trim pieces. They usually wear out after a while, and become loose and rattly.
If you door panel doesn't fit completely flush after you put it back, that means you bent/ stretched the panel during removal. Don't worry, you could take it off and use some weight to stretch it in the opposite direction. That happened to me once, and I thought I would need to buy a new panel. As a last resort, I took it off again and stretched it in the opposite direction, and it worked! The door panel fit flush again http://********************/smile/emthup.gif
Hope this helps someone.
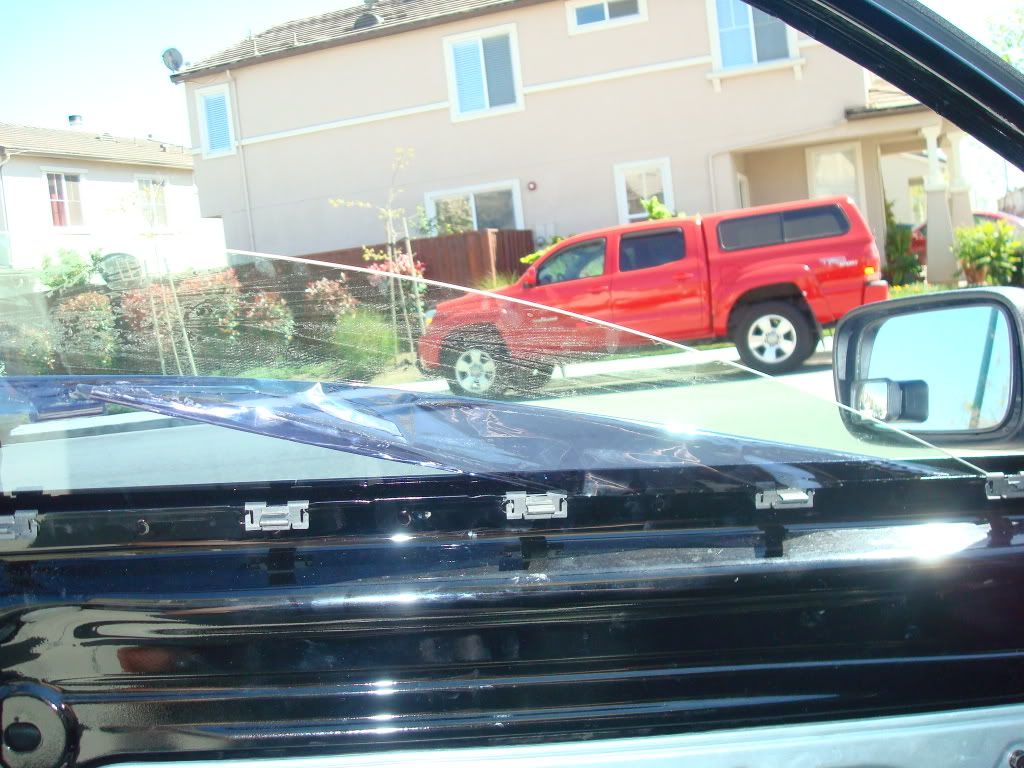
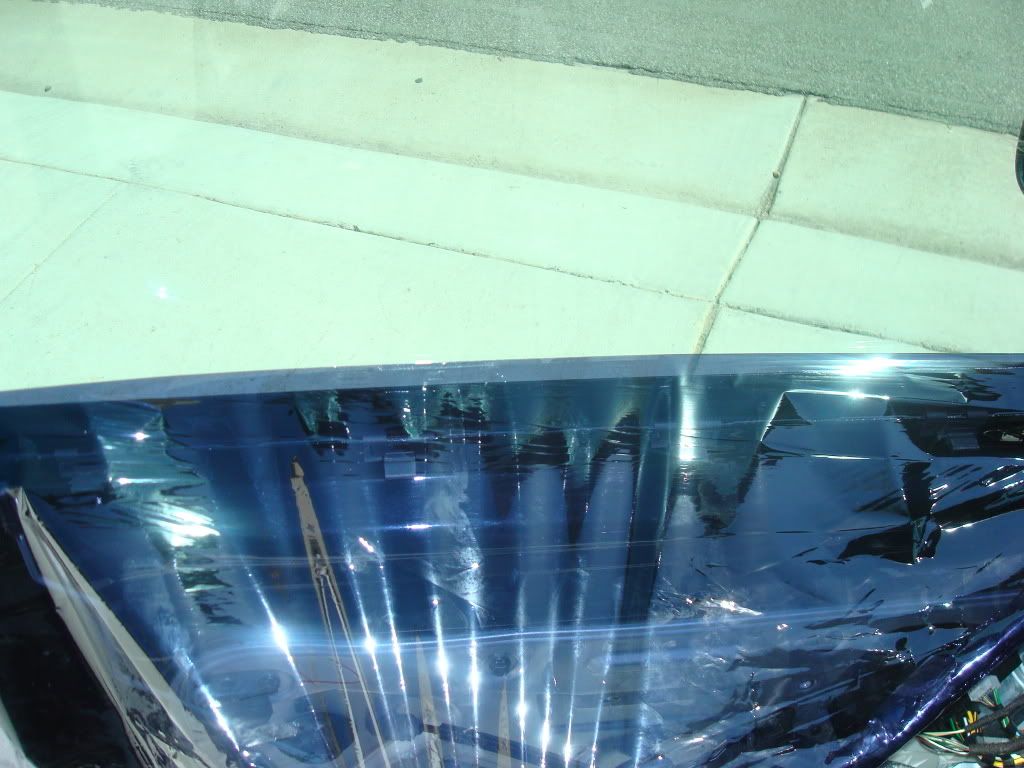
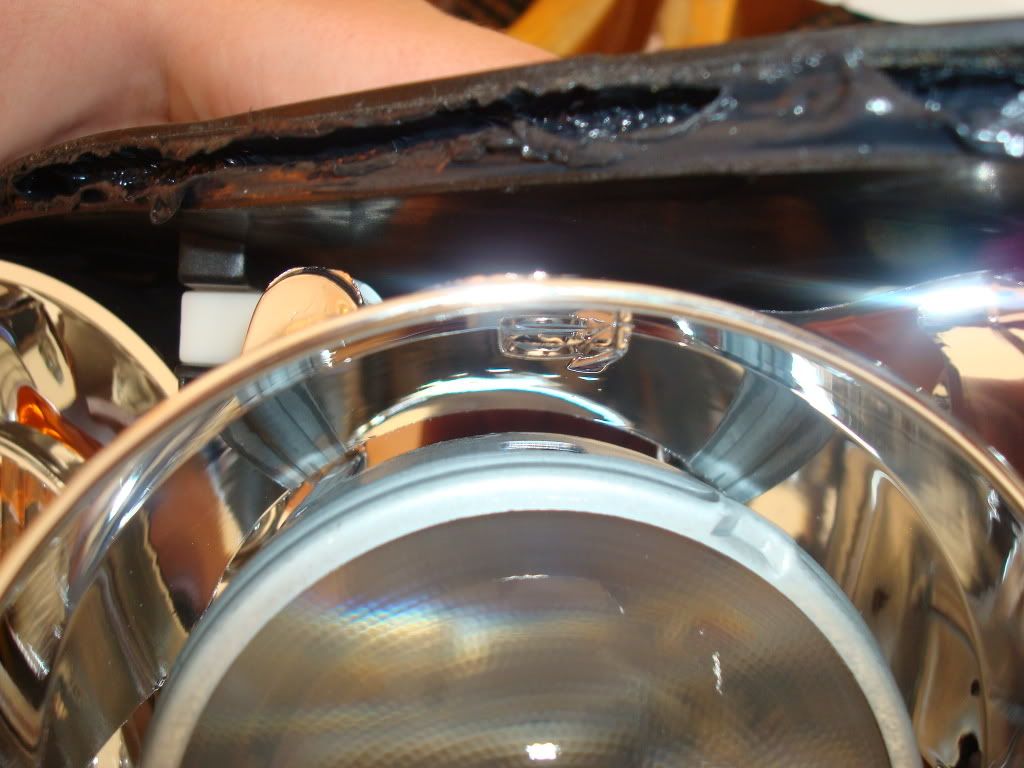
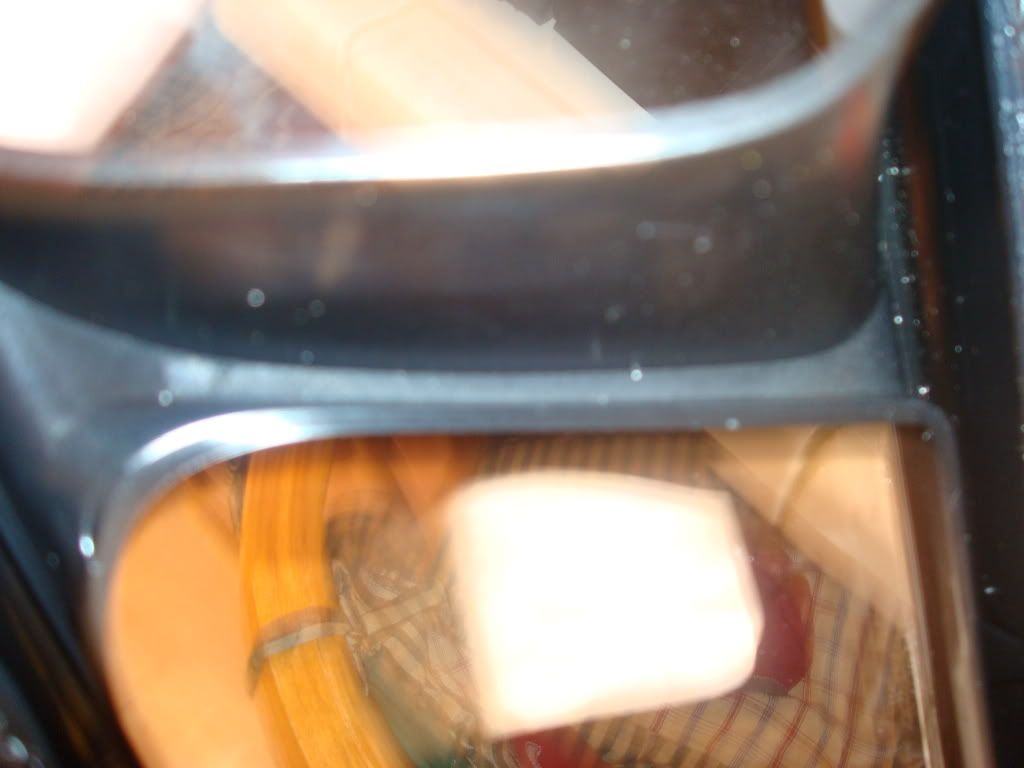
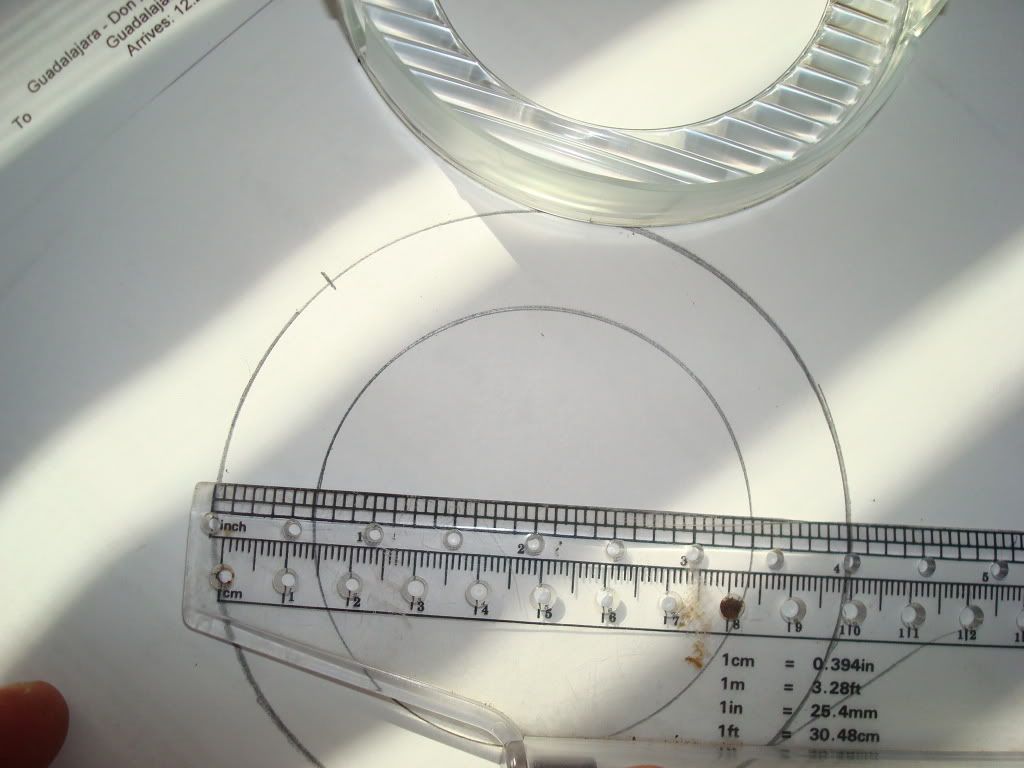
Here's some other random pics.
![Image]()
![Image]()
![Image]()
![Image]()
![Image]()
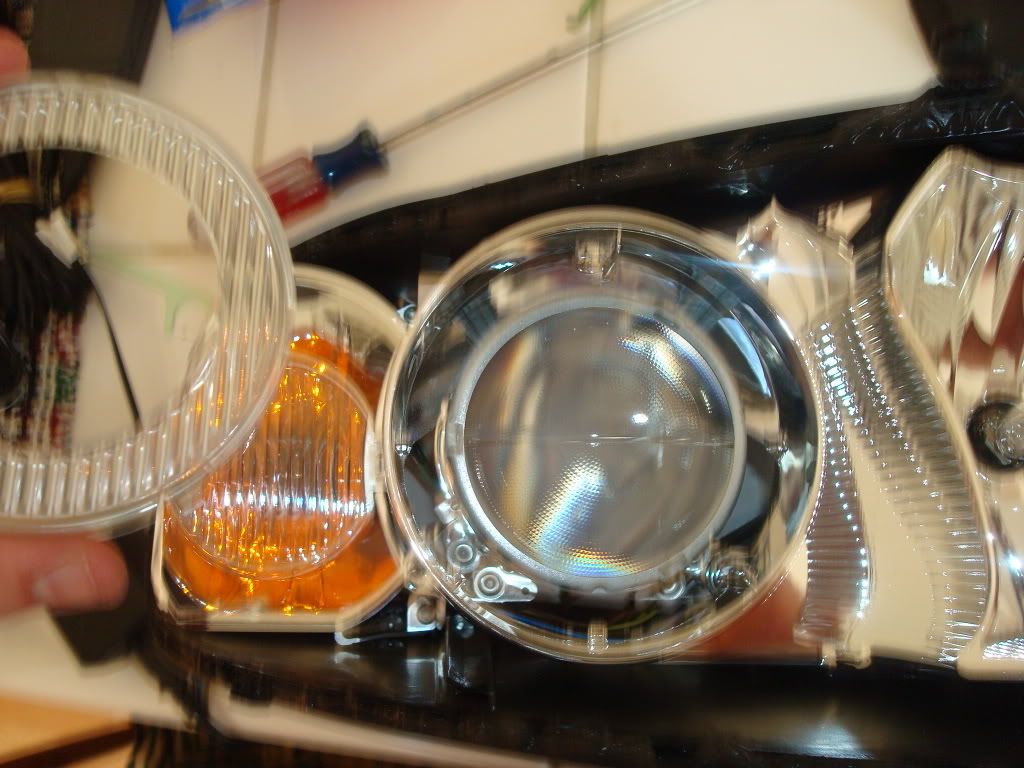
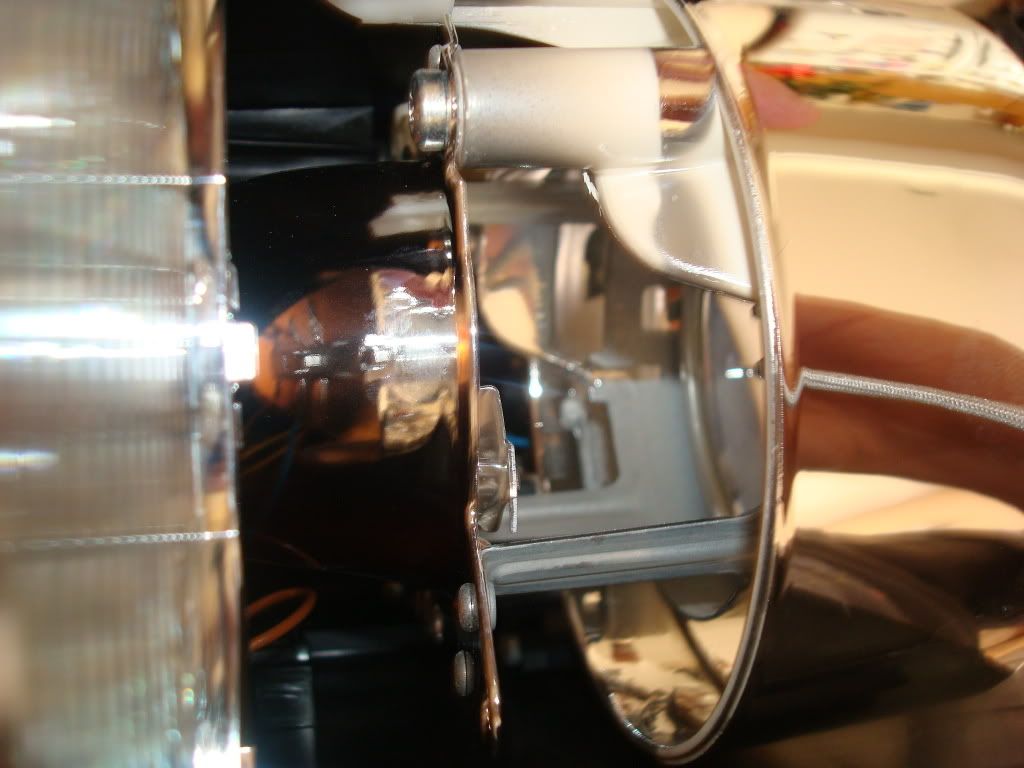
very easy to put some led's in there
![Image]()
![Image]()
![Image]()
![Image]()
Modified by rushin_max at 9:20 PM 4-18-2008
Tools Needed for panel: T25 Torx + one small and one large flat-head screwdriver, and plastic putty knife w/ V cut, or professional plastic weatherstrip tool (preferred).
Tools needed for weatherstrips: A very long(12+) and skinny flat-head screwdriver and some soap-water.
Tools needed for removing tint: Razorblade, Isopropyl alcohol(70-91%), terry cloths/towels.
Driver's sidel panel:
Pry off the door-trim piece, using your fingernail on bottom and a small flathead screwdriver from the top. (You must remove this before trying to pull out the keypad)
Pull it out straight towards the panel. If it gets stuck, push back in and try again. DO NOT FORCE IT, or you'll strip/break the plastic.
Next, take your large flat head (or your "proffessional plastic weatherstrip tool")and pry off the keypad. This is the tricky part b/c you could break the plastic clips that snap into panel, so BE CAREFUL. As you can see there's total of 6 clips.(5 on top and one below inside the handle well)
I like to start from this end since it only has single clip in the middle and therefore most likely to break.
You should hear a popping sound as the clips become undone, if it's not going out and making a creaking sound. That means one of the clips is coming out crooked, so you might want to push it back in and try again.
You want to aim in-between those two screws.
Next disconnect the keypad harness.

Press-in on the catch and pull straight out.

Next you want to remove 3 bolts that secure the door panel.
With this tool(T25 screwdriver)
Now comes the fun part

You need to pry off 8 plastic clips that secure the door panel without breaking them or stretching out the plastic on your panel. Here's a shot so you could get an idea where each clip is:

For this I use my plastic putty knife tool, but it doesn't work as well as it seems. You should really get a good plastic weatherstrip tool(the kind that looks like a breaker bar, but flatter and made of plastic) A large flatheaded screwdriver works also, but be careful not to scratch anything.

The putty knife doesn't get the clips undone completely. The best way is to pull one side with your hand, and pry on the other side of the clip w/putty knife.
Sometimes the clips just slide off and get stuck on the door.
This is where you could practice your putty-knife technique

After you get all of the clips un-done, push in the door lock pin...

and pull straight back

Just to give you a better idea how it's secured:
This clip....

... goes in this hole:
Next, undo the speaker clip...

Now you have to disconnect stuff...first would be the speaker cable(not shown). You could see where it connects on the right(that gray connector)
Disconnect the connector for the door lock switch...
... and undo the cable from the door handle.
Here's few pix of the front door speaker(premium sound)
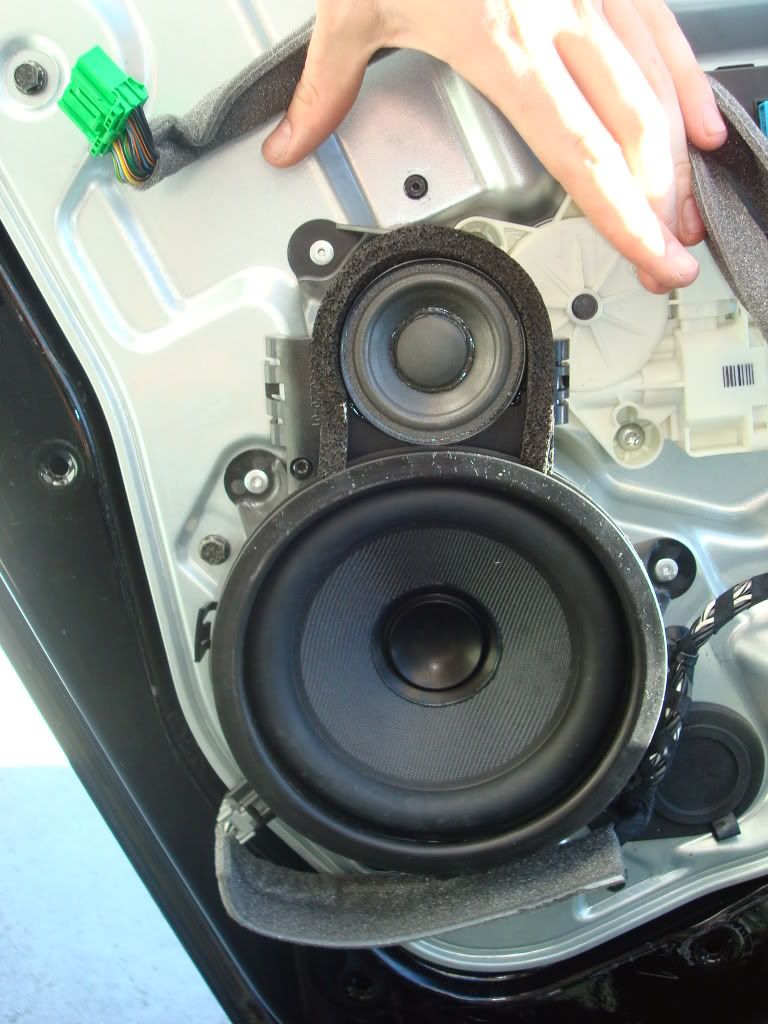
You could see the 4 rivets that secure it.

Now, for the weatherstrips.
Start from the side by the mirror and pull straight up.

Now, to get the other one, you might want to roll down your window to about here. (You could plug in the keypad for the window)
as you can see, this side has a very long weatherstrip. This is where your long screwdriver comes in when you put it back.
Another tip, see that large rubber grommet/cover? You could use that to secure the weatherstrip all the way down. I just realized that myself, after I already installed the panels. Oh well, next time they're off again, I'll secure it better.
Next, is the outside weatherstrip. I usually start at this end(by the door handle), and gently push the weatherstip up. Once again, you don't want to force it or it'll break...

...this clip.
These are not all the weatherstrips, just the one's you need to remove to thoroughly clean your window.
Now, for the tint:
Take a brand new blade(don't want to scratch the window), and peel some of the tint.

I usually start from the middle, and then work my way around

You want it to come off in one piece(instead of a bunch of small pieces)
Next, roll up your window and finish pulling off the film.
You could tell that the tint is old and faded(see the puprle ?)

The reason I removed the weatherstrips/panel, is so I could thoroughly clean the glue from the windows. If you don't do this, chances are the window will have a hard time rolling up/down because of the glue sticking to the weatherstrip.
Here's some helpful tips:
Put some tape(electr./duct) on the screwdriver to avoid scratches.
Next time at the dealership, buy a few extra door clips. They break quite easily, and the last thing you want is to be missing a door clip.
Also, might want to pick up some new door handle trim pieces. They usually wear out after a while, and become loose and rattly.
If you door panel doesn't fit completely flush after you put it back, that means you bent/ stretched the panel during removal. Don't worry, you could take it off and use some weight to stretch it in the opposite direction. That happened to me once, and I thought I would need to buy a new panel. As a last resort, I took it off again and stretched it in the opposite direction, and it worked! The door panel fit flush again http://********************/smile/emthup.gif
Hope this helps someone.
Here's some other random pics.
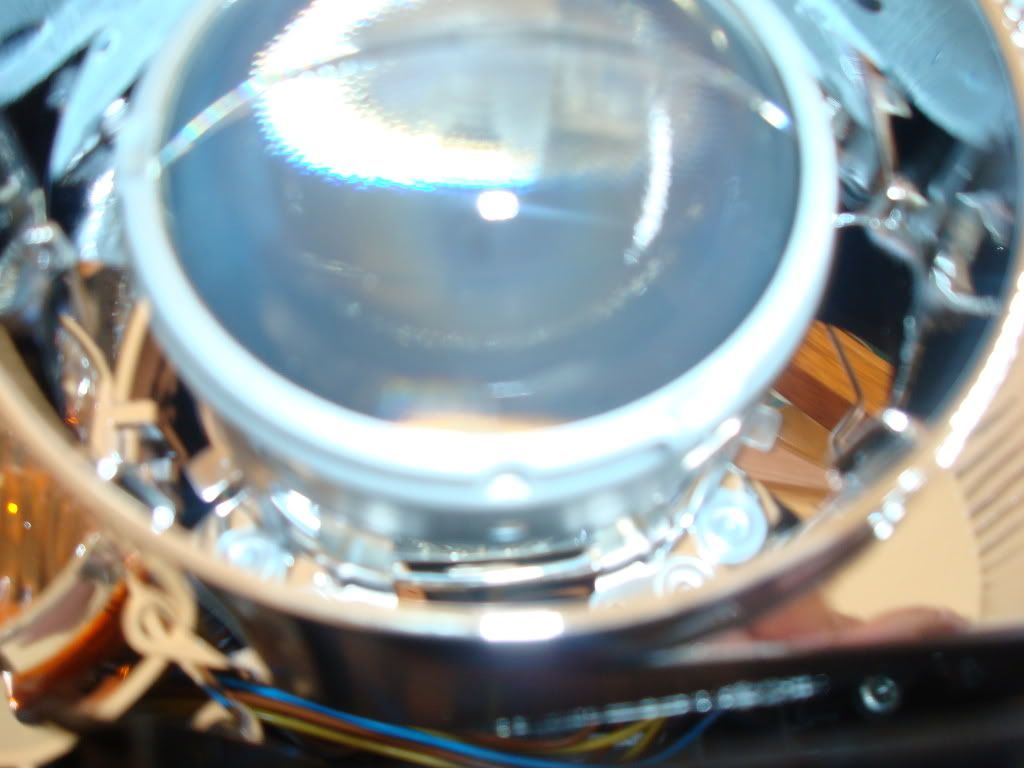

very easy to put some led's in there

Modified by rushin_max at 9:20 PM 4-18-2008


